Locations: Photographer Education

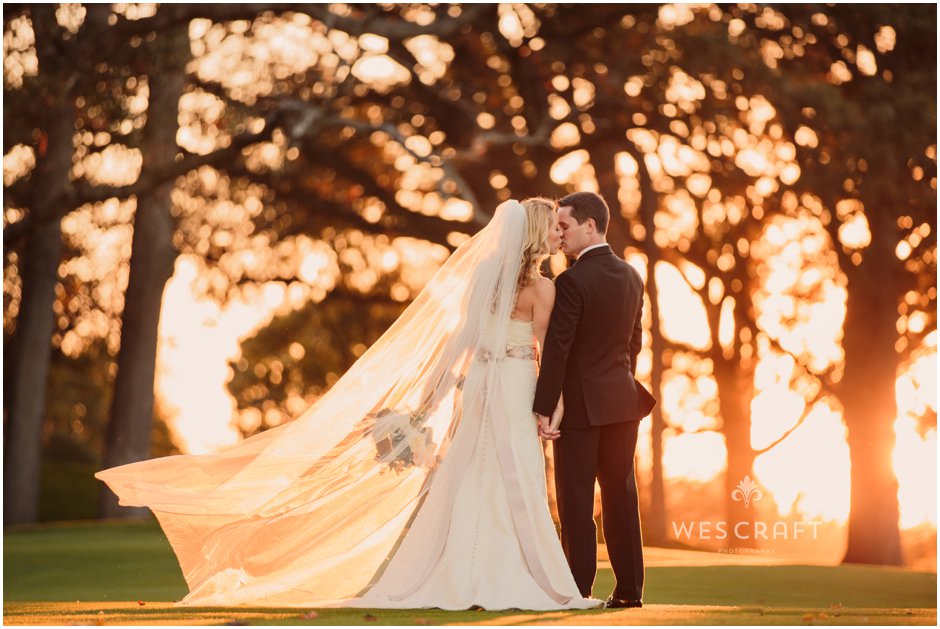
You’ve been feeling better about your progress backlighting your couples in fields of grain at golden hour but your palms sweat all over your brand new camera when the sun goes down. If this describes you then read on. I’ll teach you my tricks for how to keep the vibe of the space you’re photographing and add your lighting with purpose so that you too can wield power over the darkness…
I’ll share how a blend of on camera and off camera light along with an underexposed ambient exposure gets us the most dynamic looks.
We are Necia & Wes Craft, the husband and wife team behind Wes Craft Photography in Naperville, IL. Photo by: Jeff Newsom
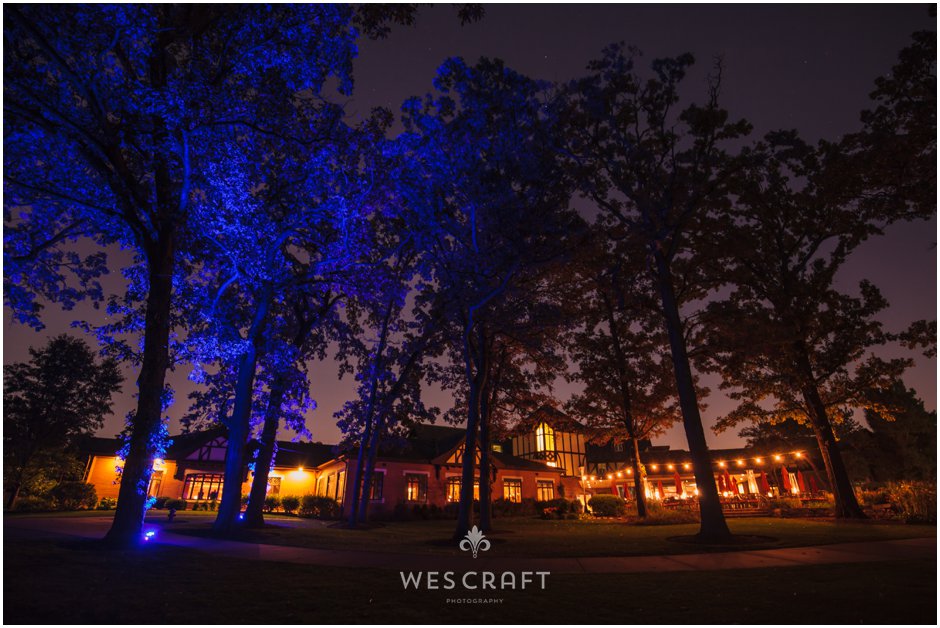
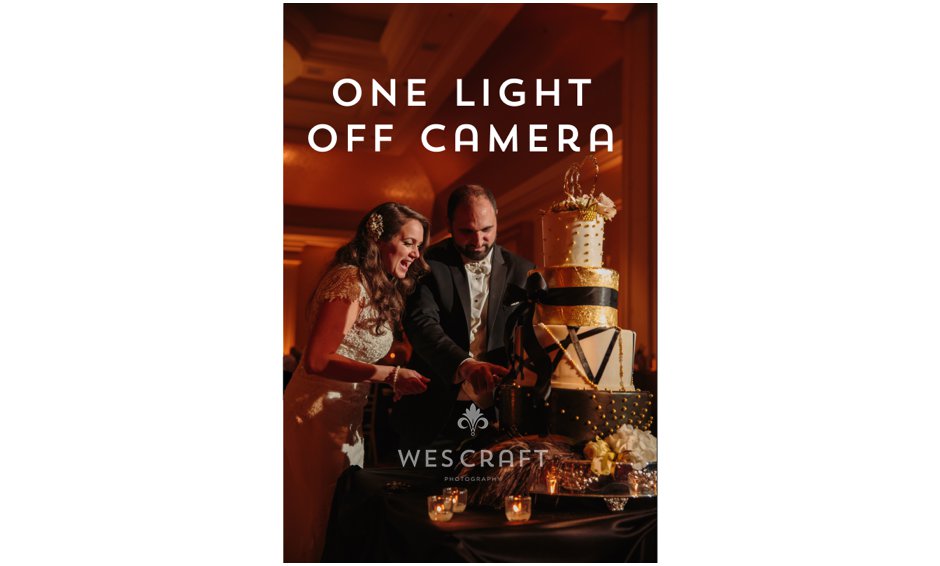
As the light of day fades it’s time to bust out your strobes…gently.
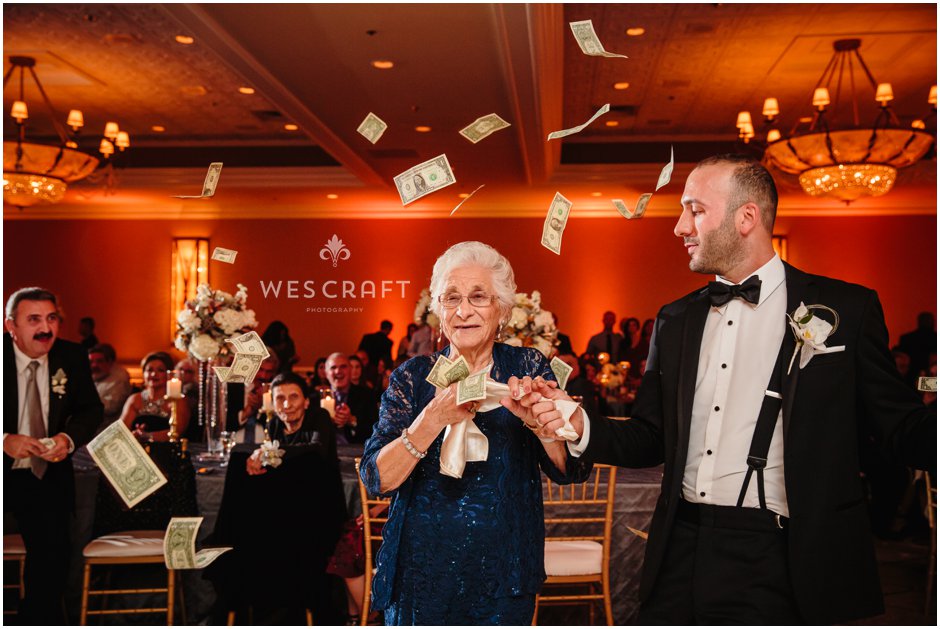
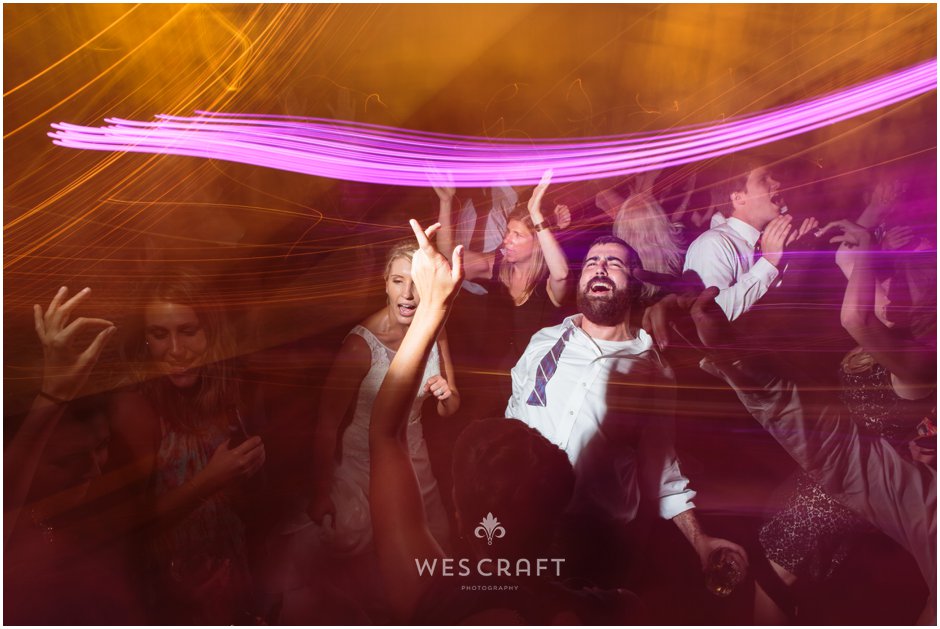
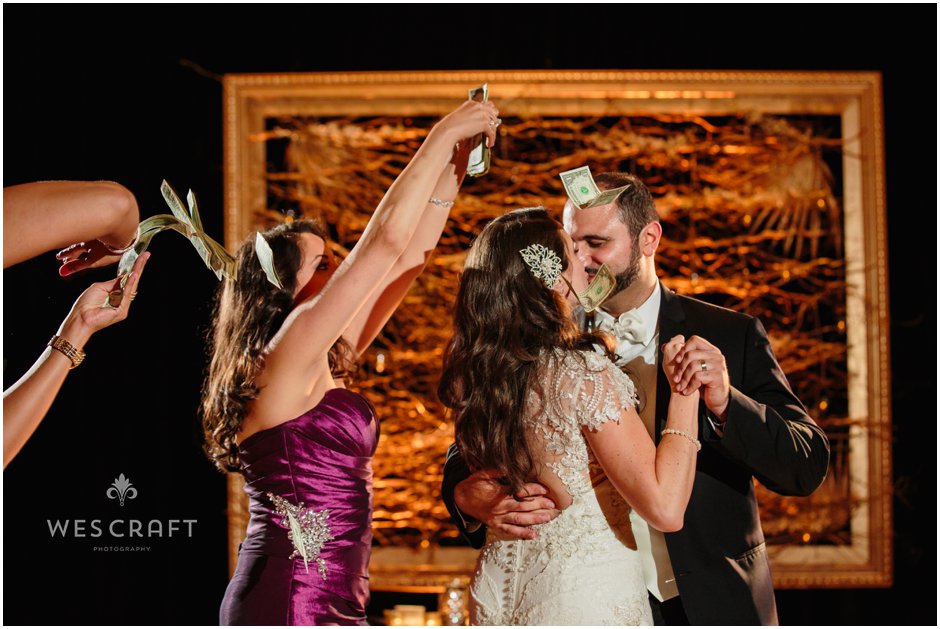
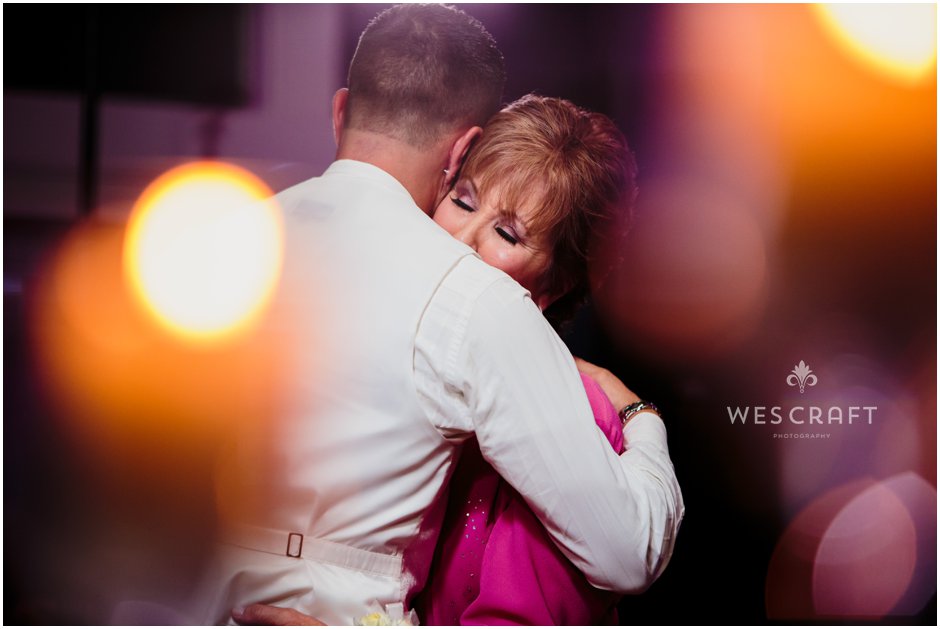
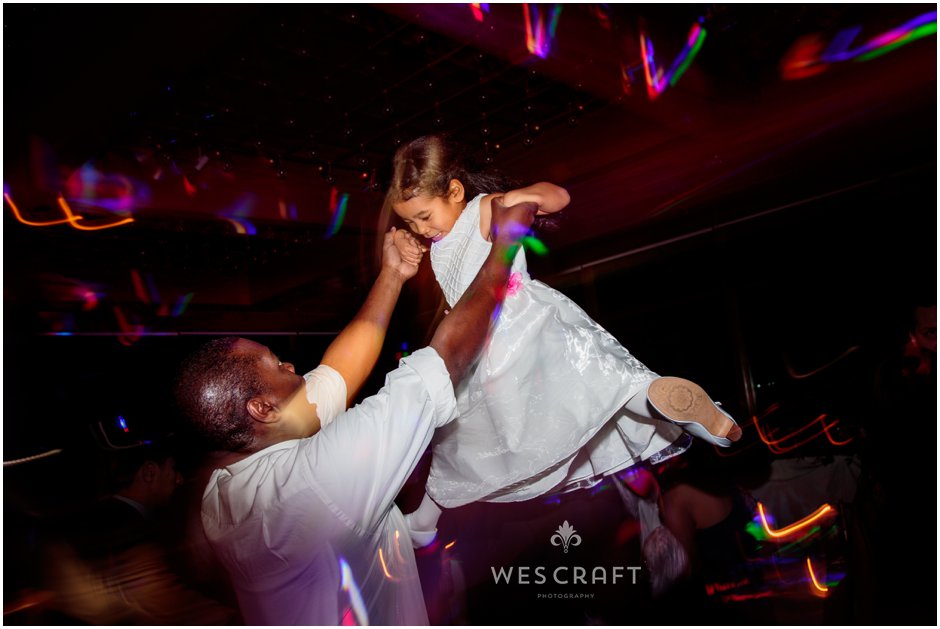
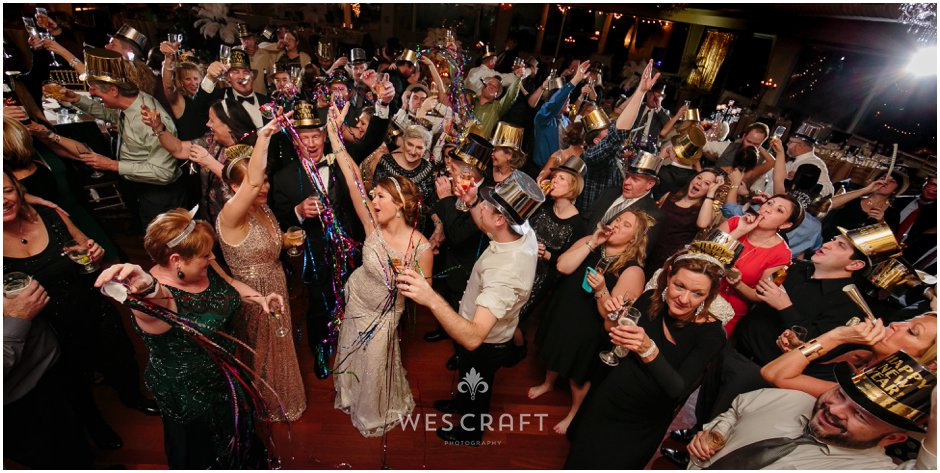
Night has fallen but not your spirits. It’s time to sprinkle fairy dust in the dark.

If you’re fortunate enough the venue you’re at has white ceilings about 10-12′ high and the dance floor is far enough from the walls that your bounced flash won’t interfere with the uplighting or romantic sconce lights. Maybe you can get by with no off-camera lighting and still capture the mood of the room. It is rare that these conditions all fall into place however so we like to be prepared for anything.
Direct flash methods can be useful as well. That said, I feel like I don’t get as many usable shots when we get experimental. When it works it’s great. Another thing I don’t like about the direct flash method is that subjects closer to your flash are blown out while subjects farther away can be in total darkness. Dance floors get crowded and there’s almost always someone between you and what you’d like to get a clear shot of. It’s nice to get the flash off camera.
Some of you may have already ventured into the use of 1 off-camera light. If so then this post will give you some ideas for ways to add 1 or 2 more to the mix.
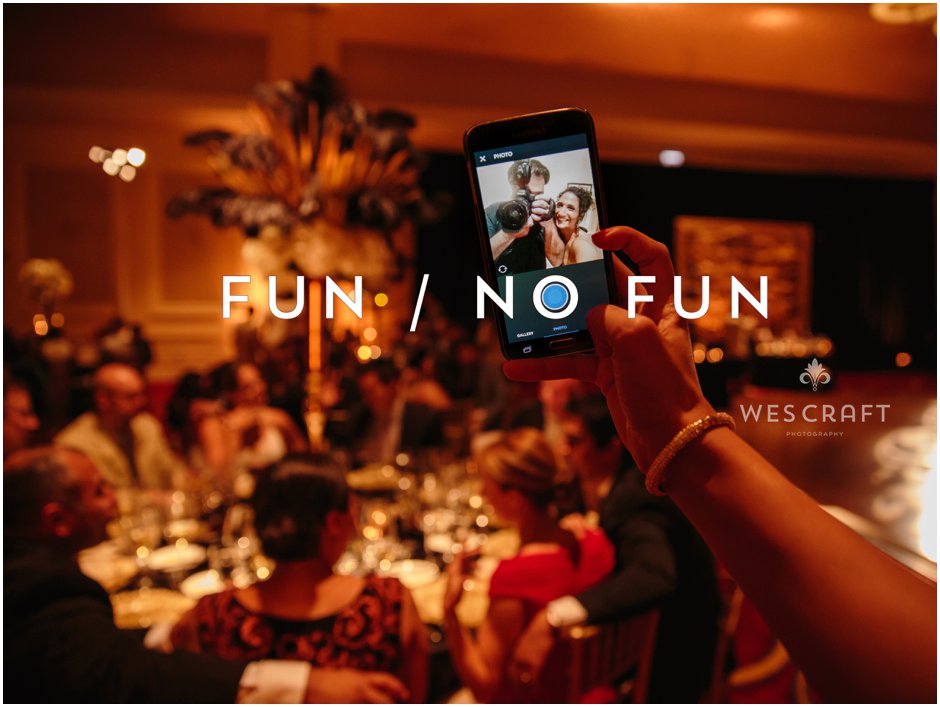
Photographing wedding celebrations can be a lot of fun and should be. What’s no fun? Worrying about how to capture the fast moving action in a dark place.
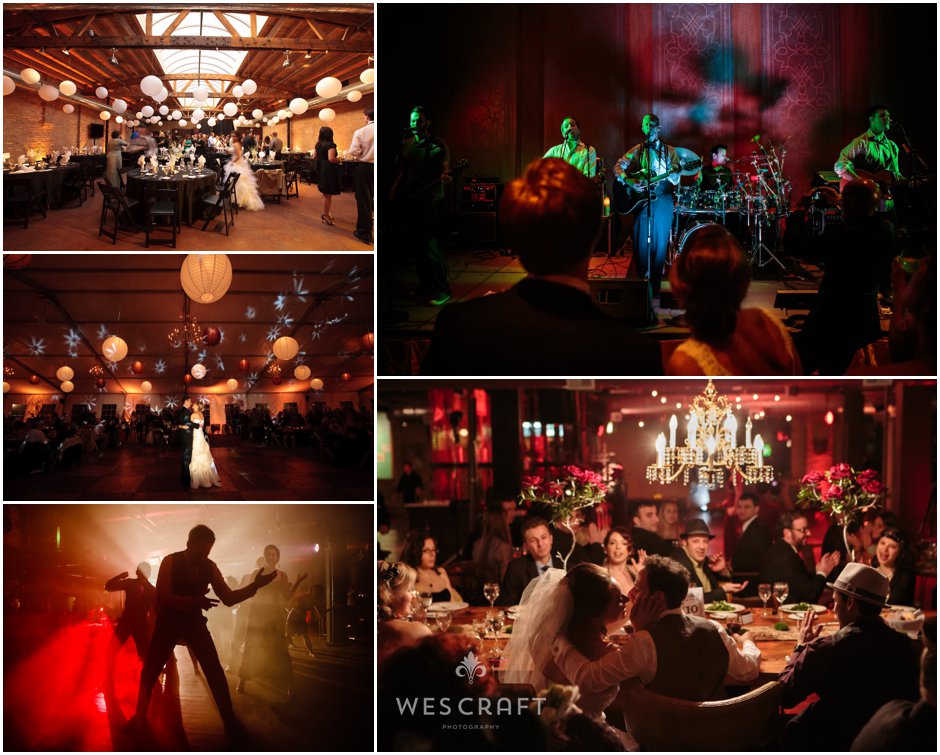
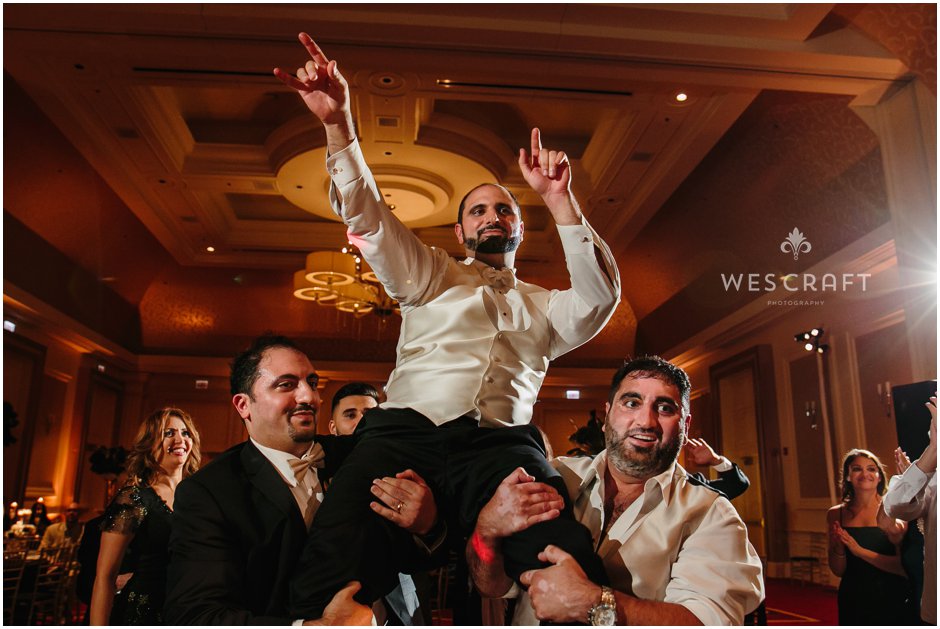
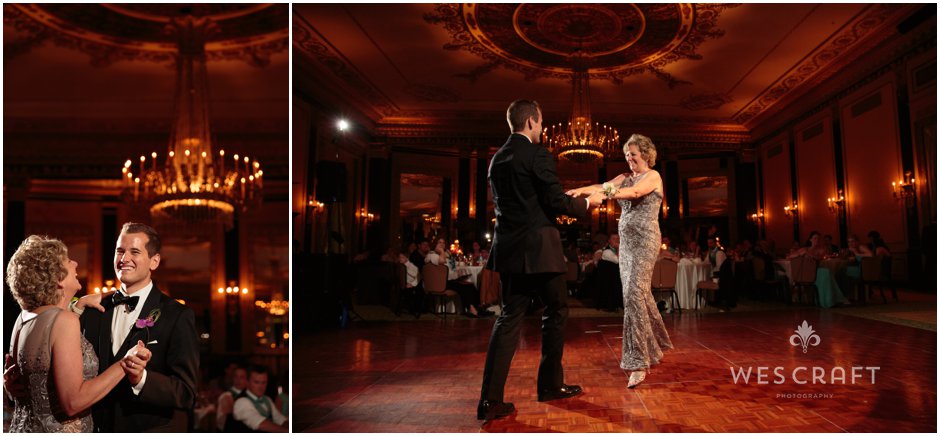
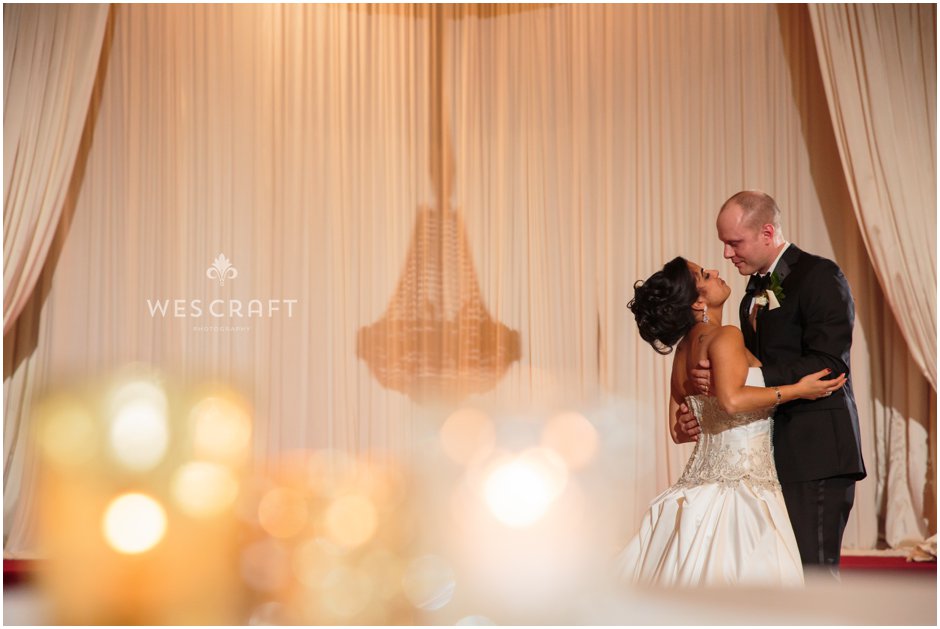
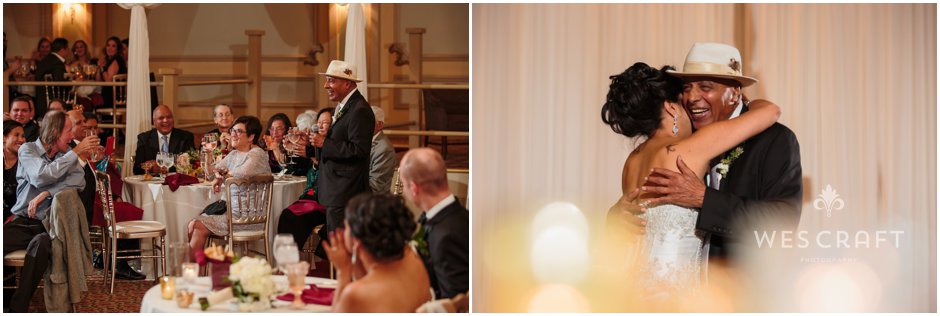
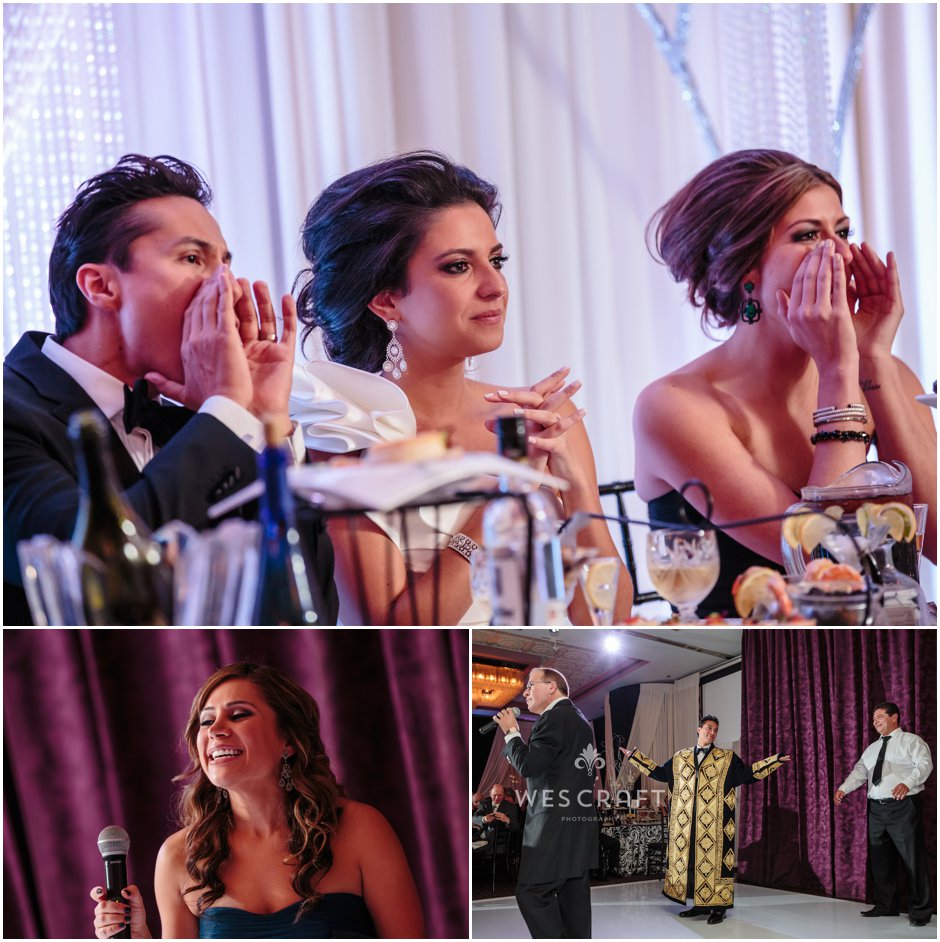
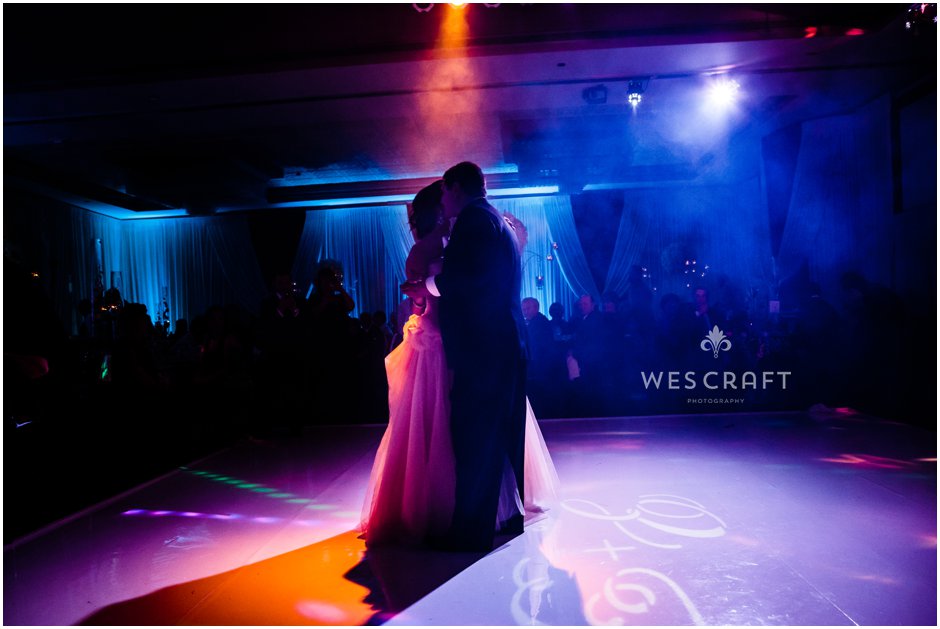
Sometimes the room can lend itself to ambient captures such as these. Clockwise from top left: A skylight illuminates the dining room (skylight only), The bride’s father jumps on stage with the band to surprise his daughter with her favorite song (stage lighting only), A chandelier hangs over the head table, DJ lighting and fog machines created a specter like silhouette, A spotlight shines on the first dance as gobo ceiling lights, lanterns, and uplighting provide tons of room vibe. I didn’t fire my flash in these photos.
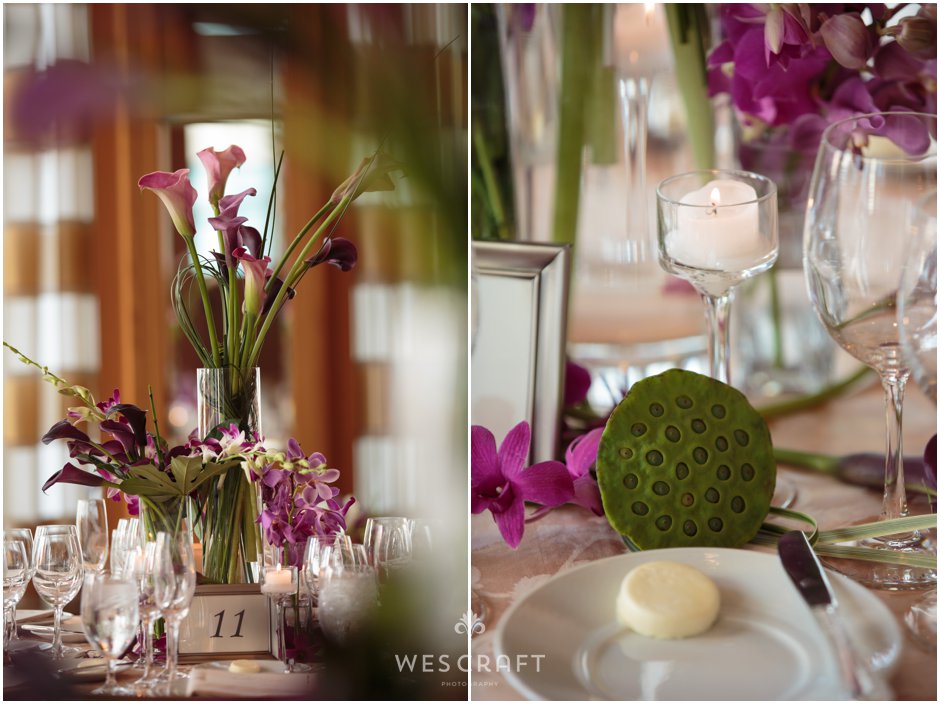
I let the window light come from the side of my subject to show the contour. No flash needed.
Deeper in the room there was no such luck. No windows lit this cake sitting in muddy orange light.
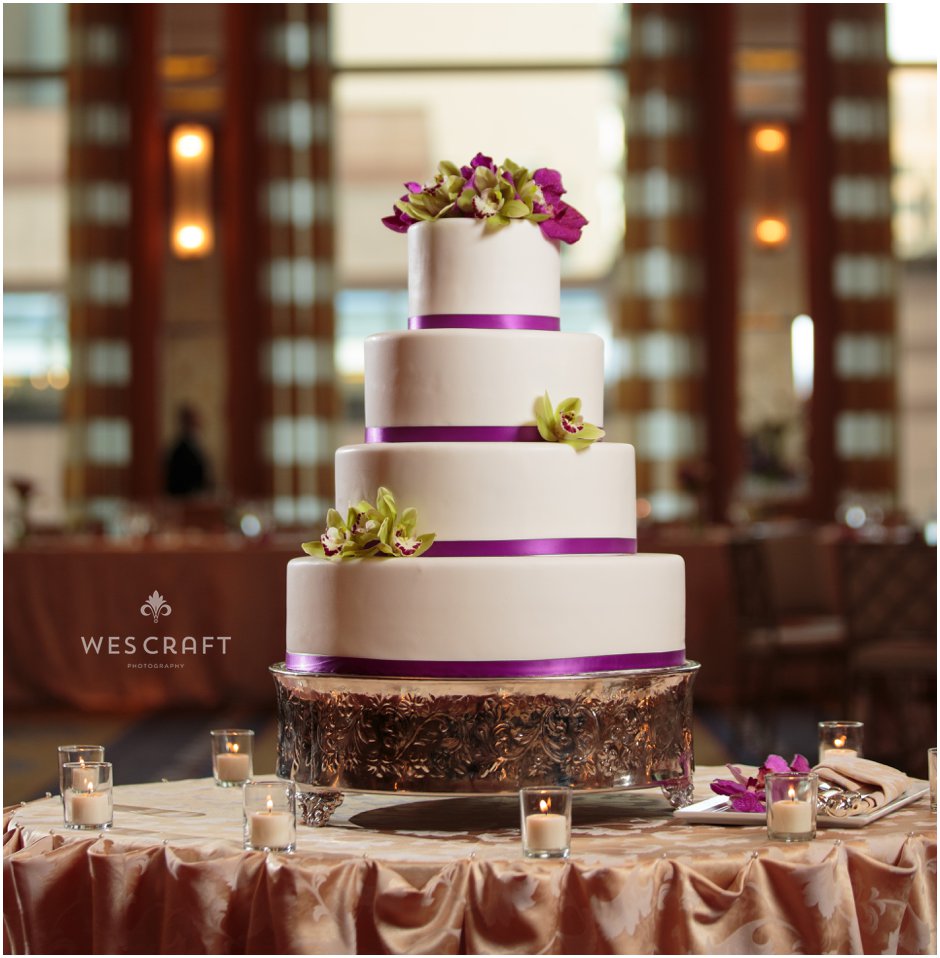
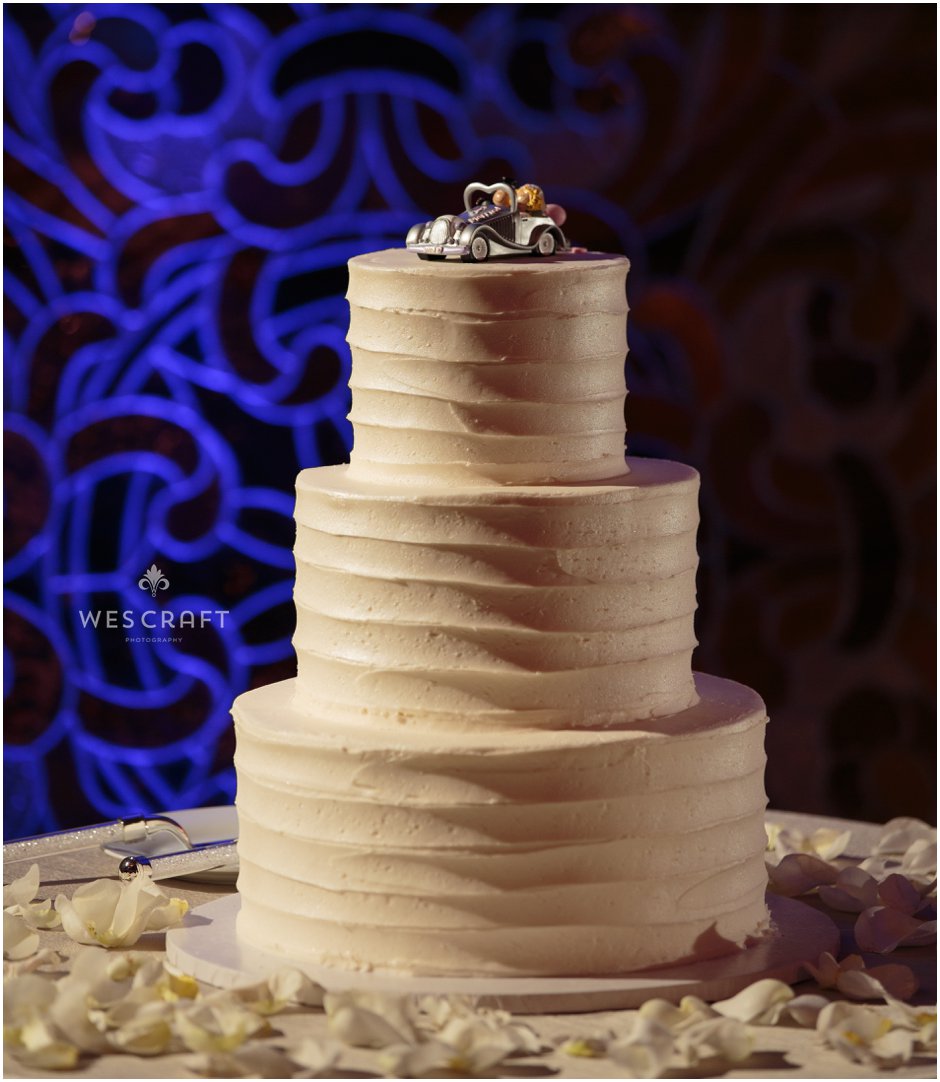
I fired my 2 off camera lights to create a dynamic and detailed photo of the cake. Check out the following diagram.
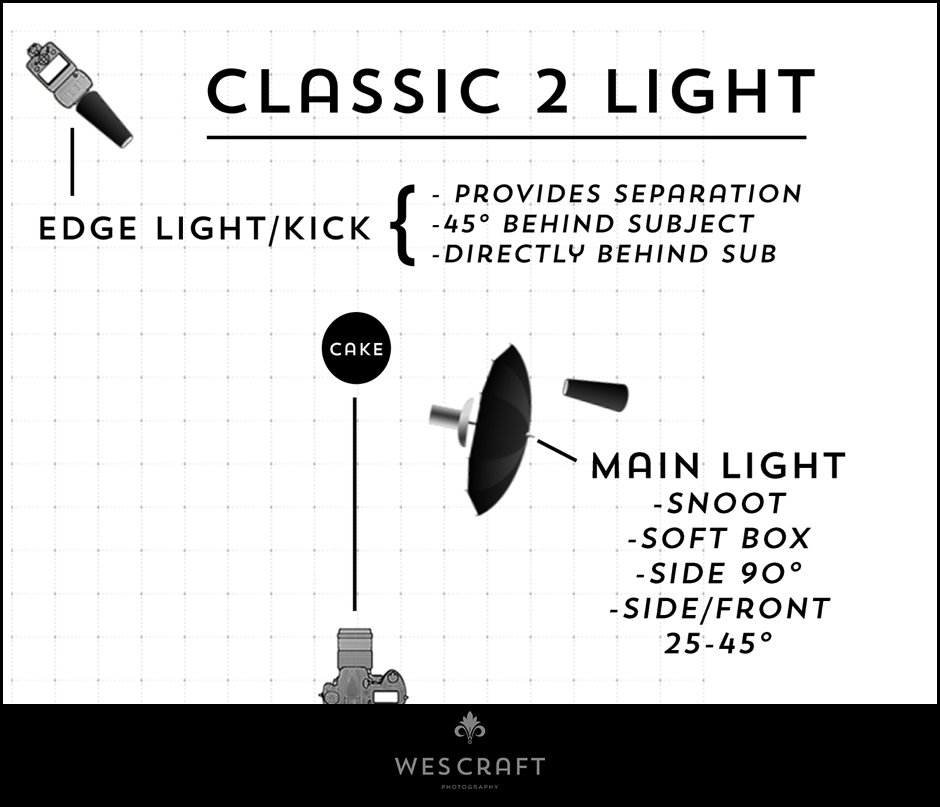
This classic crisscross of a kick light and a main light is often found in headshots. Here it’s craftily deployed on a wedding cake.
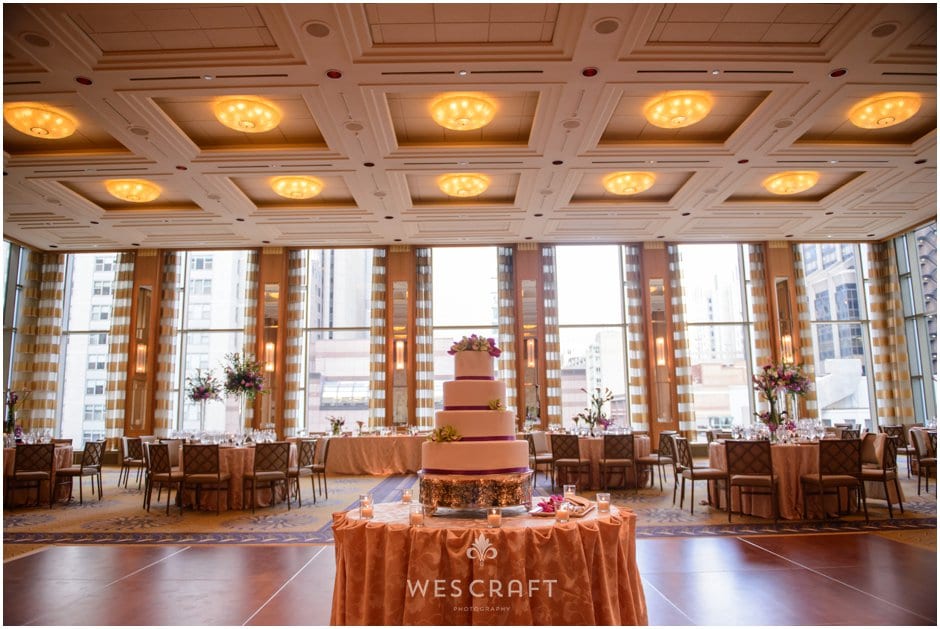
As I pull back for the wide shot you’ll see that my ambient exposure is set for the window light hitting the distant tables. My off camera flash is just off camera to the right of the cake, spotlighting it.
Then, I decided to add light to the left of the table in the foreground so that it too was detailed.
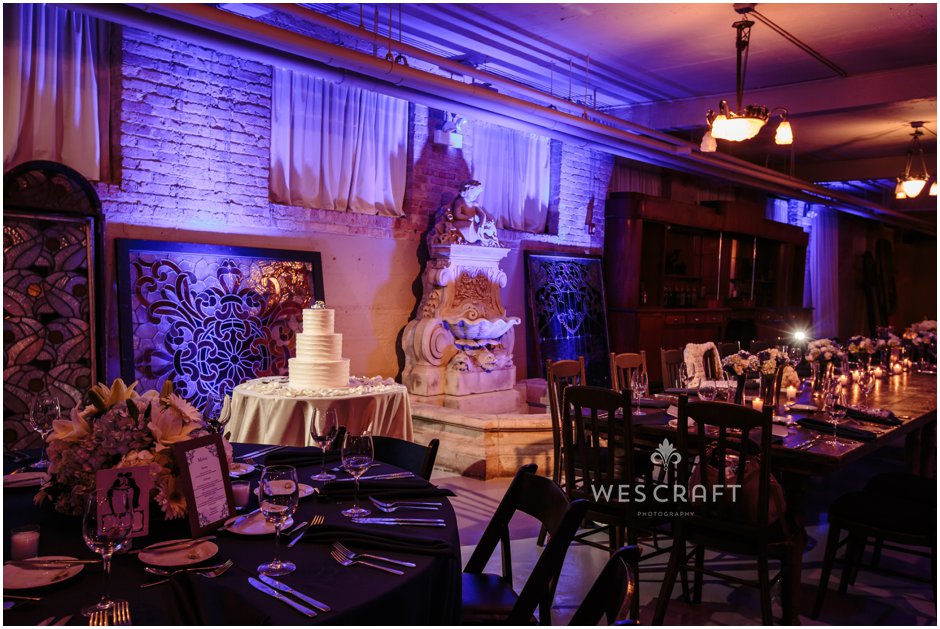
Here’s a wide shot of another cake so that you can see the ambient exposure and my light placement. One spot light is to the right and a kicker has a grid on it to the rear right.
The main light is to the left and somewhat hard. The kicker light to the rear right is also a hard direct light. Grids purchased from Honlphoto.com were used to modify the speed lights so that neither light was spilling onto the background’s blue ambient light.
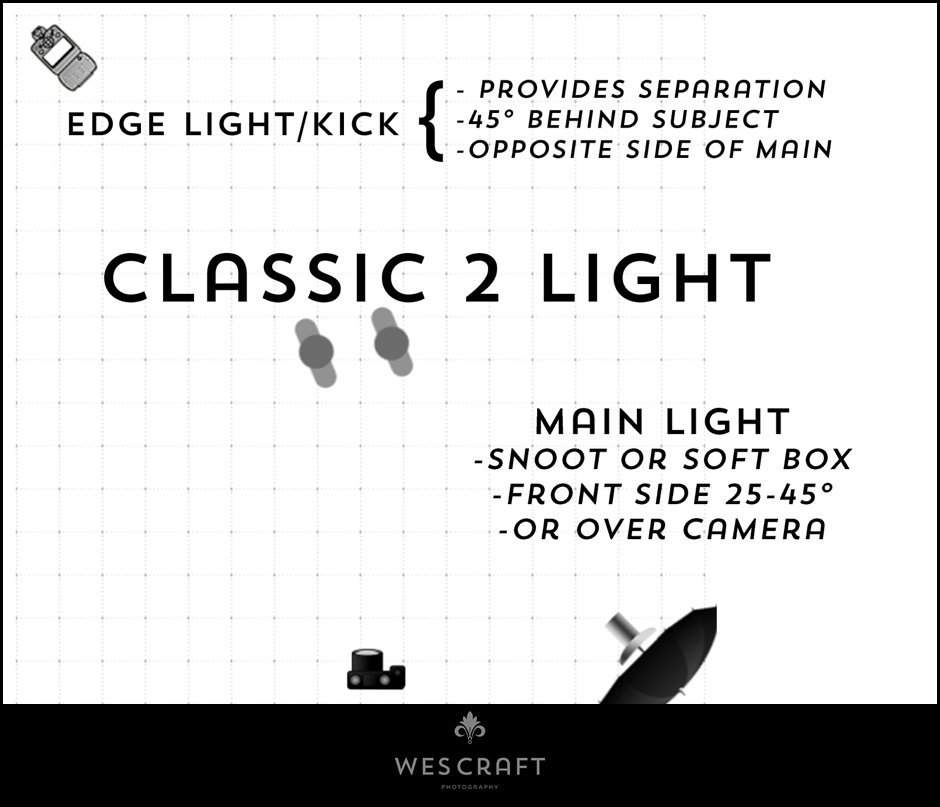
This standard crisscross of a kicker/edge light across from a main light will work wonders for countless scenarios including special dances.
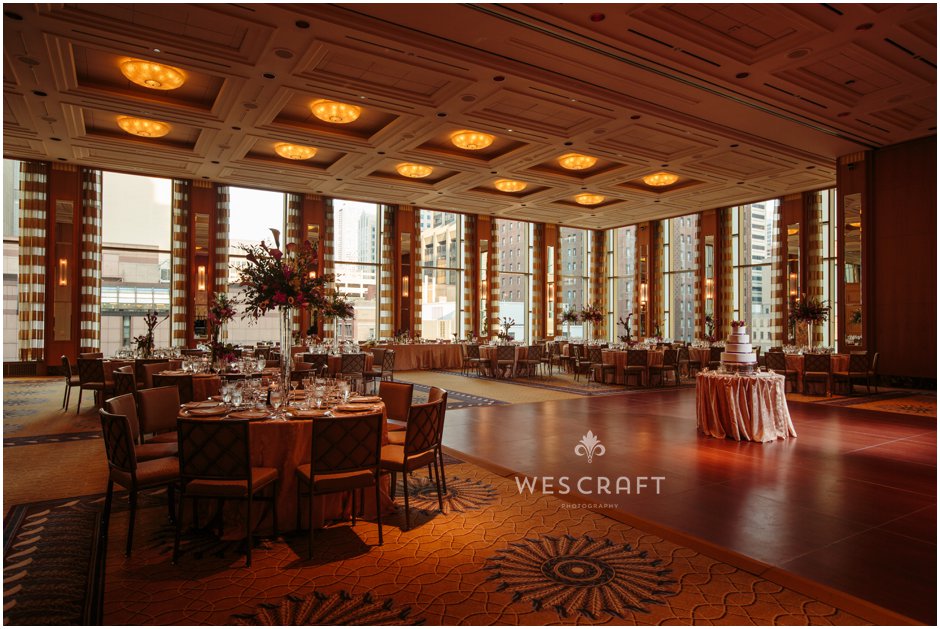
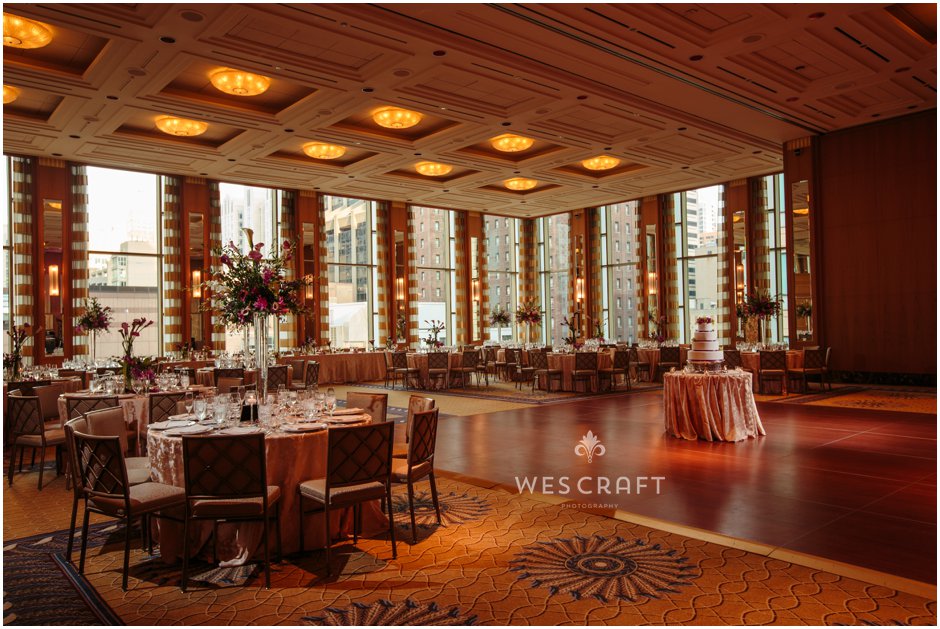
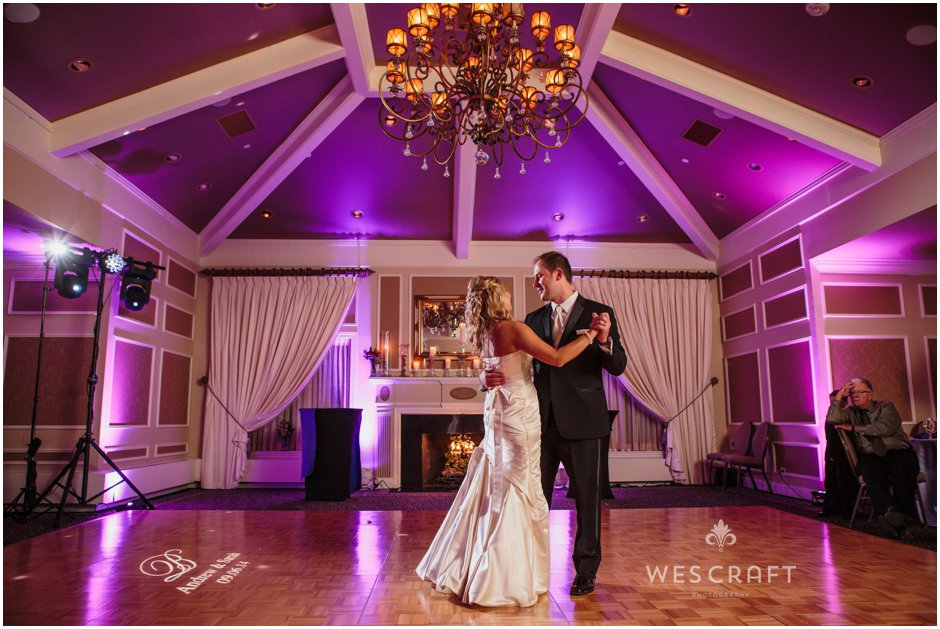
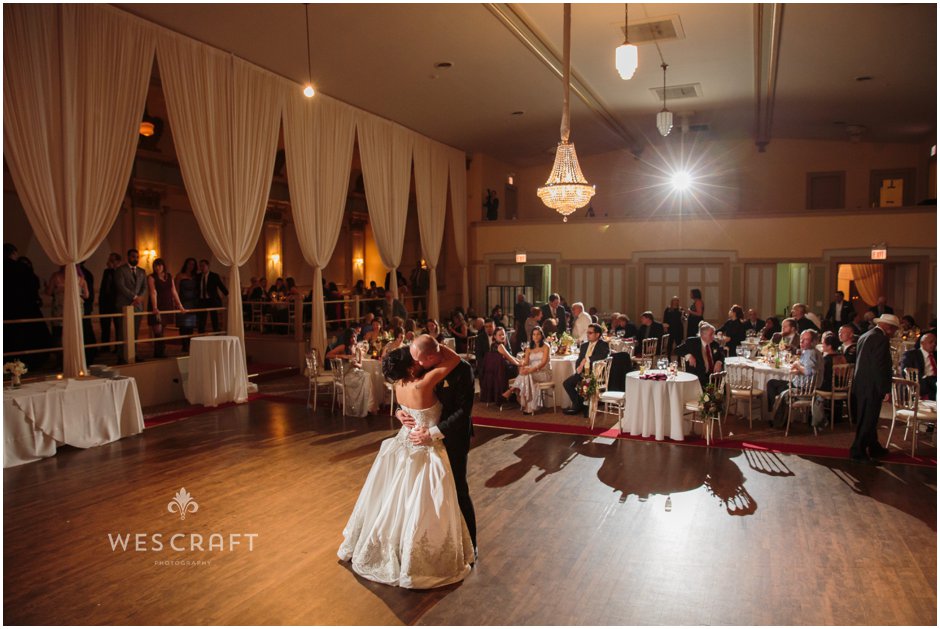
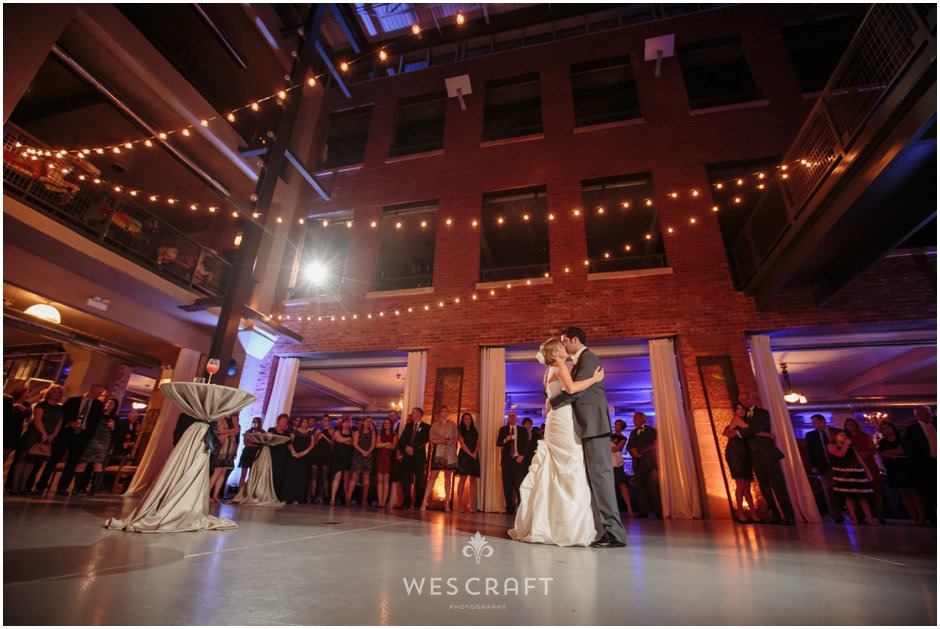
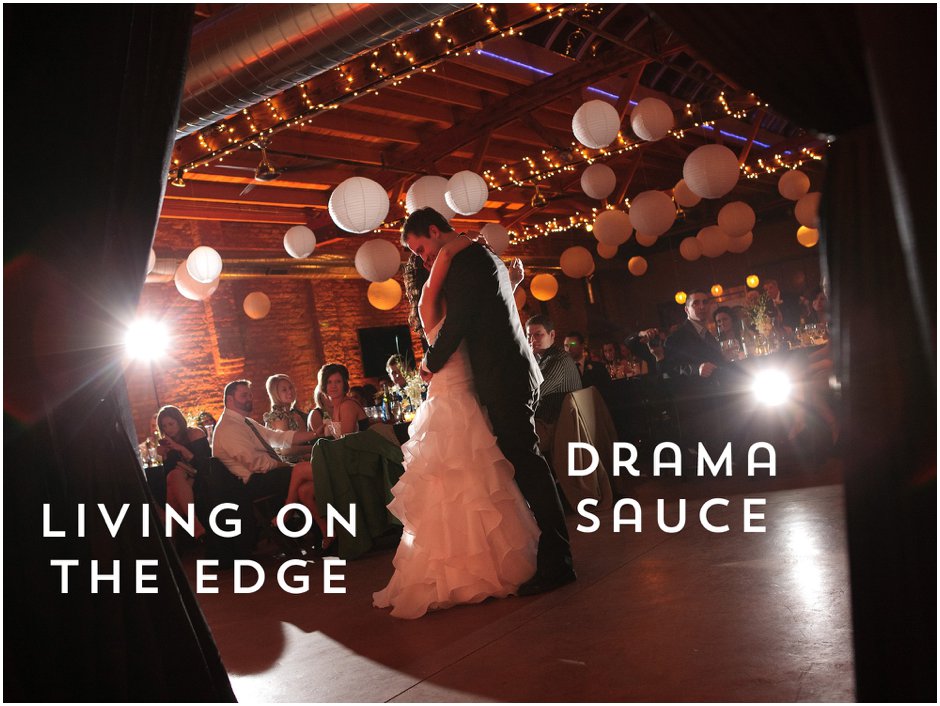
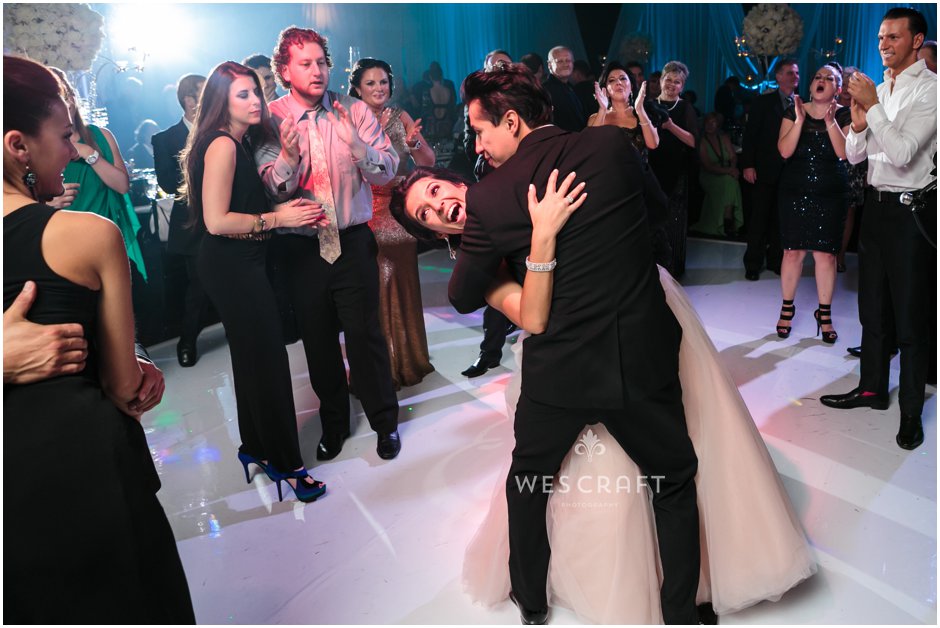
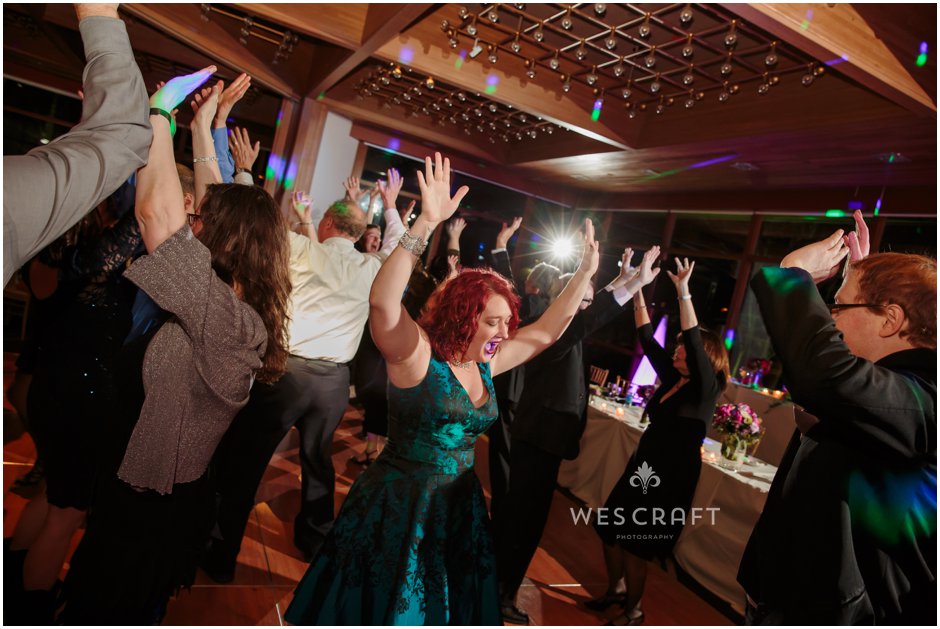
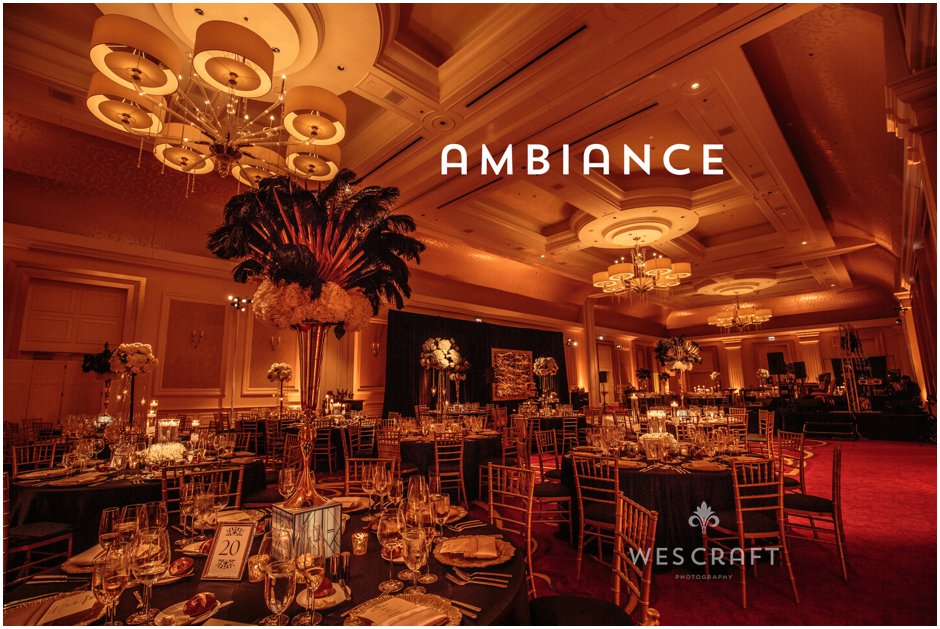 DONT KILL MY VIBE – One of my first considerations is always to keep the ambiance or vibe of the place. The above photo is an HDR room shot to give you an idea of the space shown in the following few pics. While I could’ve exposed it a stop brighter, I’m displaying it darker here. This is actually how the room appeared to the naked eye and if a bit warmer not by much. I want the photos to look and feel like the space did.
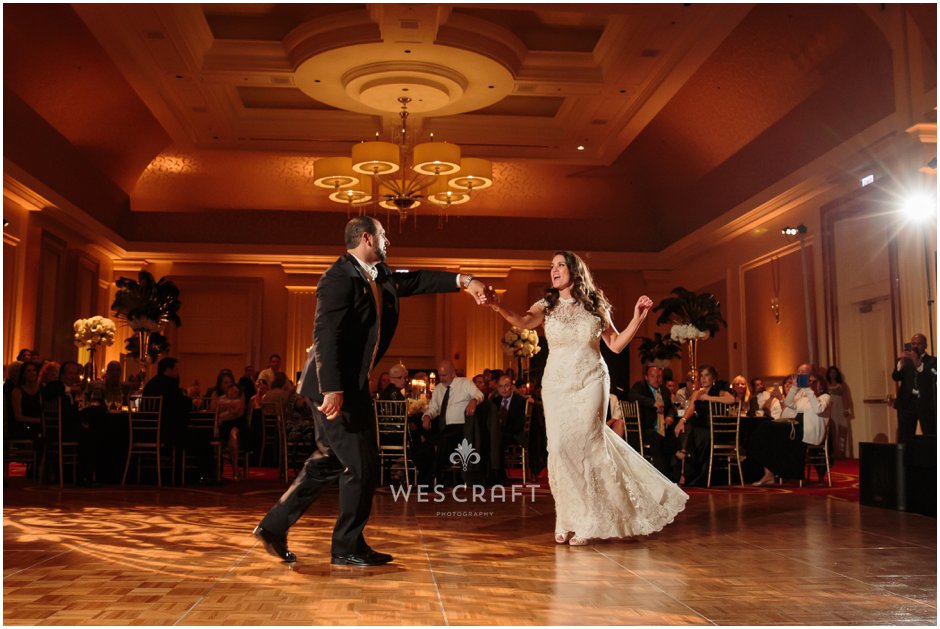
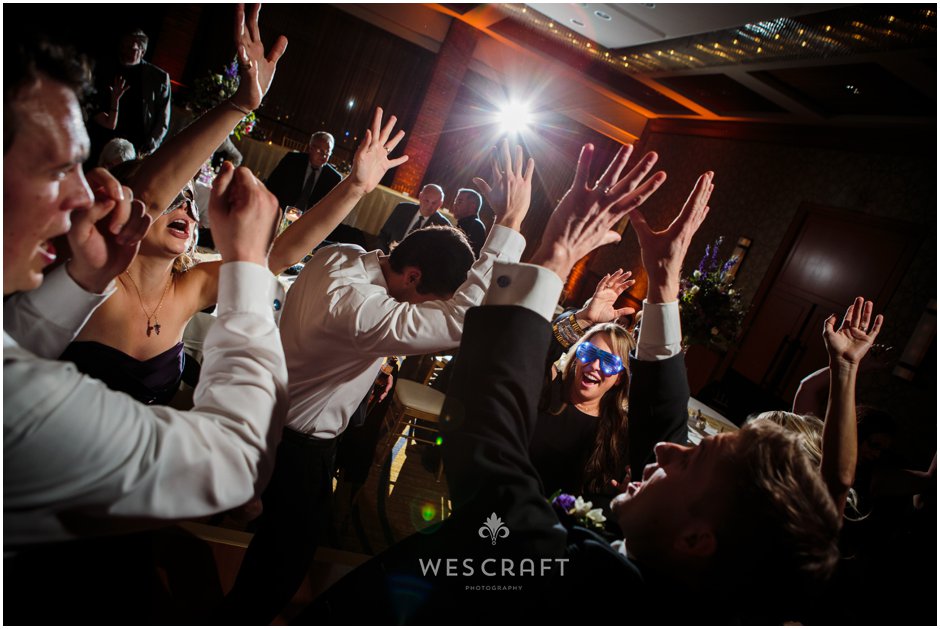
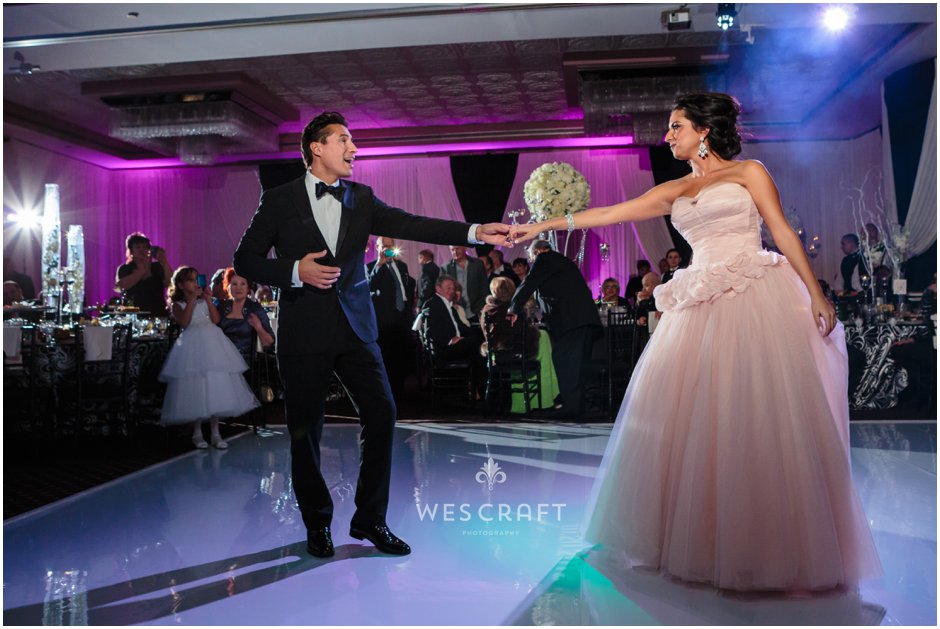
I placed my lights at a diagonal crossing the dance floor. You can see my light high to the rear. It probably had a grid on it to narrow the beam and prevent spill. I set an ambient exposure that gave me a dark yet detailed room of approximately 2 stops under exposed. This will prevent ambient light from blurring my moving subjects but still allow the room to exist.

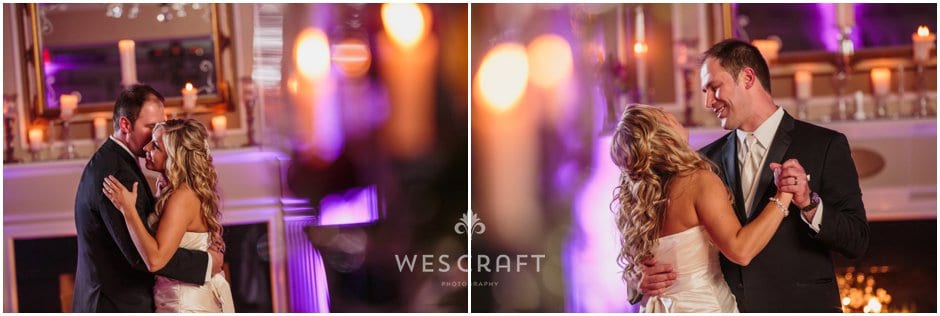
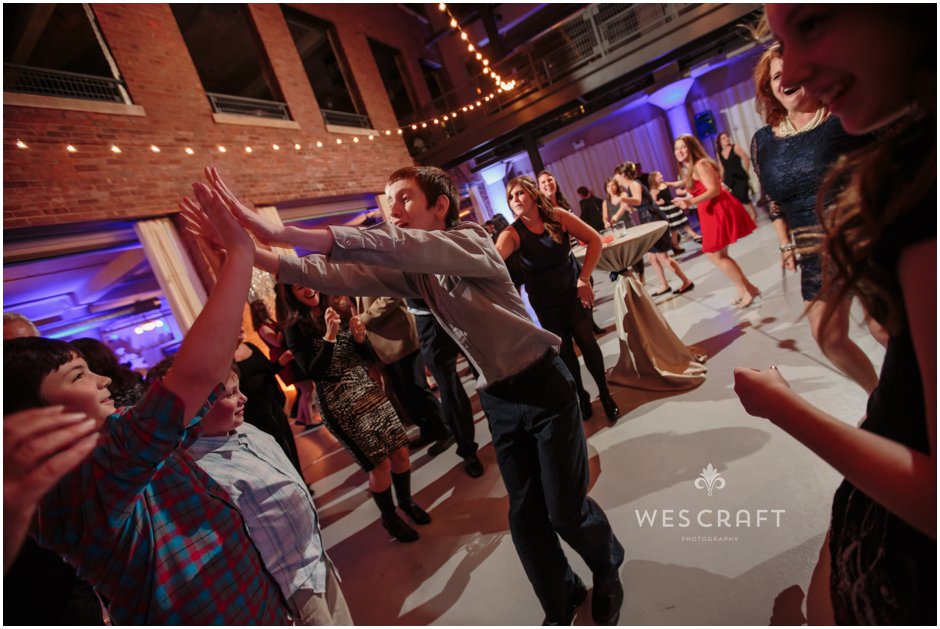
You can try things like turning off the main light and just firing the edge light or rotate your camera position to put the kicker light directly behind your couple and silhouette them.
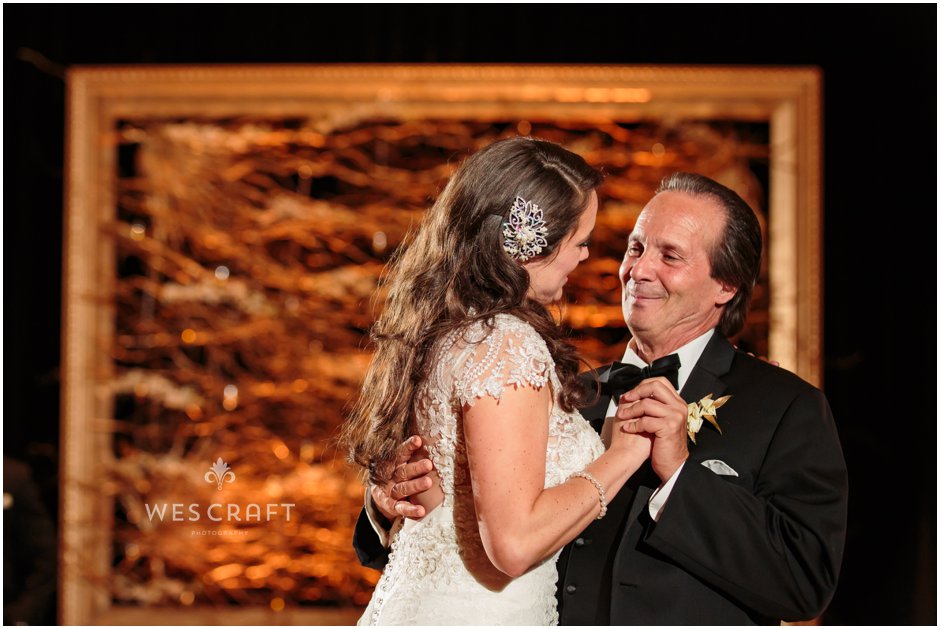
Here’s the same lighting but I’ve switched to my telephoto camera and rotated to the left so that my main light is now on my right. Notice how I’m now showing a different background and my edge light is still diagonally behind my subjects. Once you set your diagonal light you’ll have many angles that you can take and still get dynamic dimensional light on your subjects.
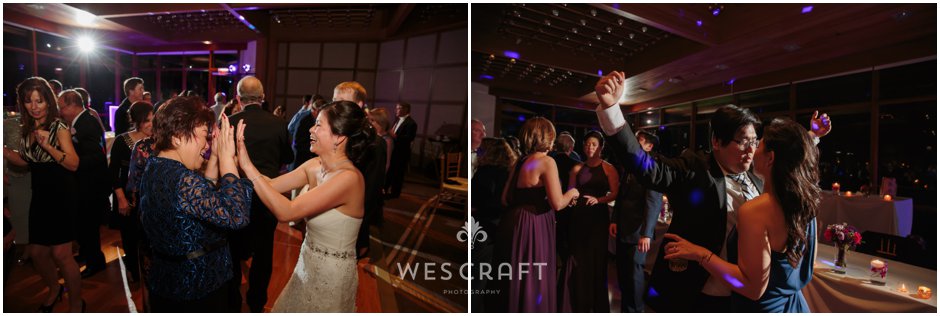
 For the next few, I did the same exact thing but in a different setting. Check these out and see if you can tell where the lights are coming from.
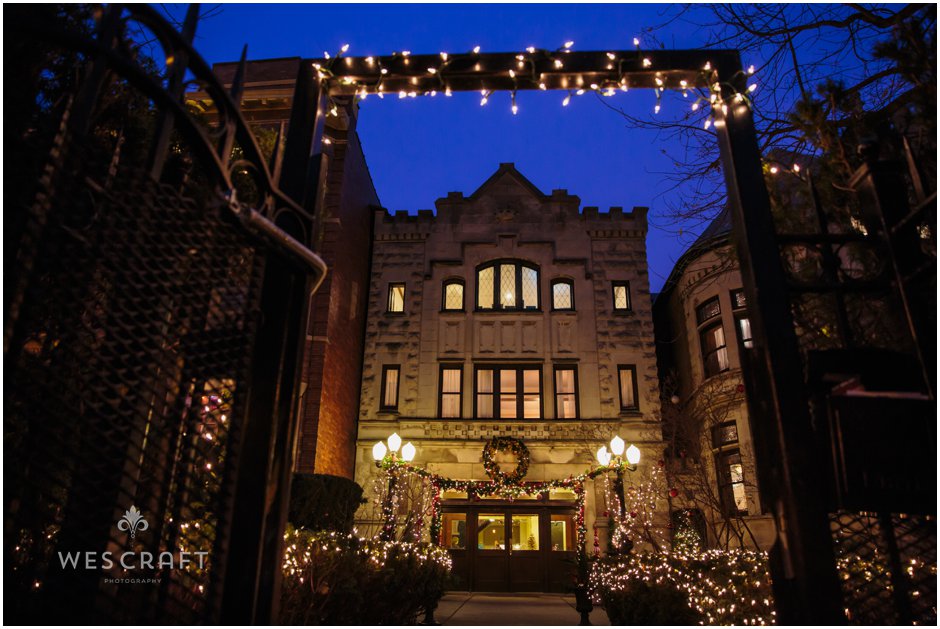
Winter weddings are especially challenging with it getting dark around 4 or 5pm!
Here I used the same principals but improvised, putting my main light in the balcony.
It looked like this. I didn’t want the chandelier’s shadow in the shot but it’s kind of cool anyway.
I could move anywhere in the room and I had criss crossing lights putting dimension on the scene.
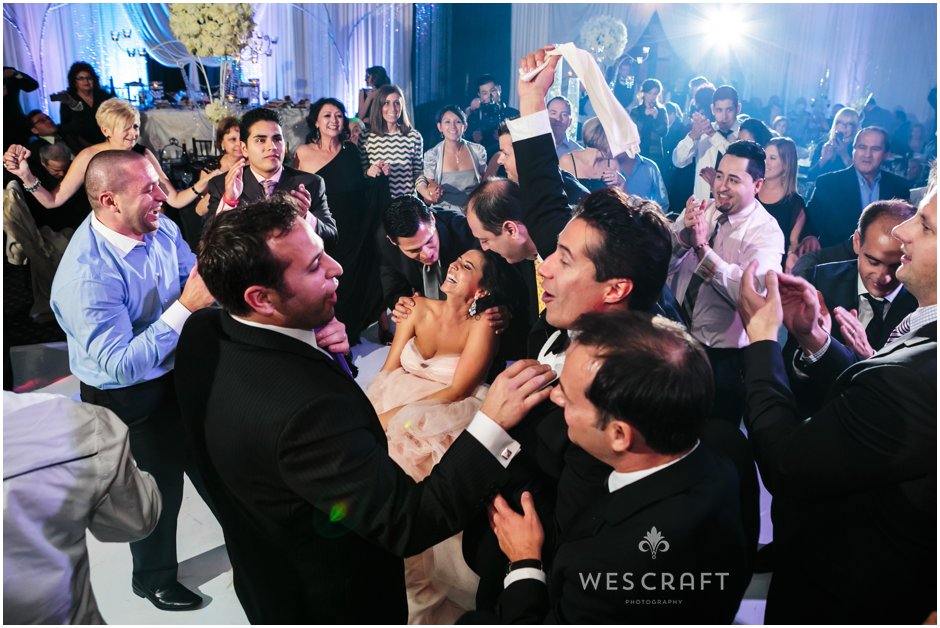
Open dance floors can also get the 2 diagonal light treatment and you can use on camera flash as your main, the off camera lights, a boom pole operator, or any combo. I like fire only the off camera light/s that are behind my subjects and then use either my on camera light or my assistant’s light on a boom pole as the main. When we rotate to another part of the room I can turn off and on different lights from my on camera controllers.
Check out the purple ambient light in these photos. There’s enough to expose the scene but it’s a bit funky.
This is after I fired a single light bouncing off the white ceiling about 15-20 feet away. I could move about the room, use either camera body (both have a trigger on them), and get dimensional daylight balanced light on the subjects. More about this versatile light setup next.
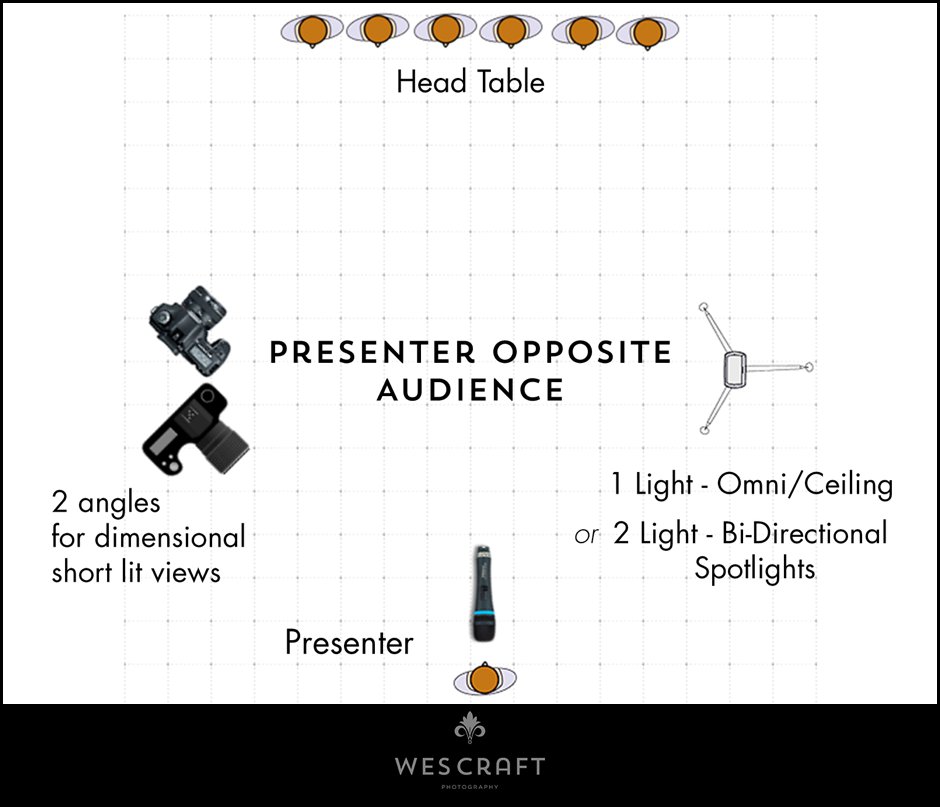
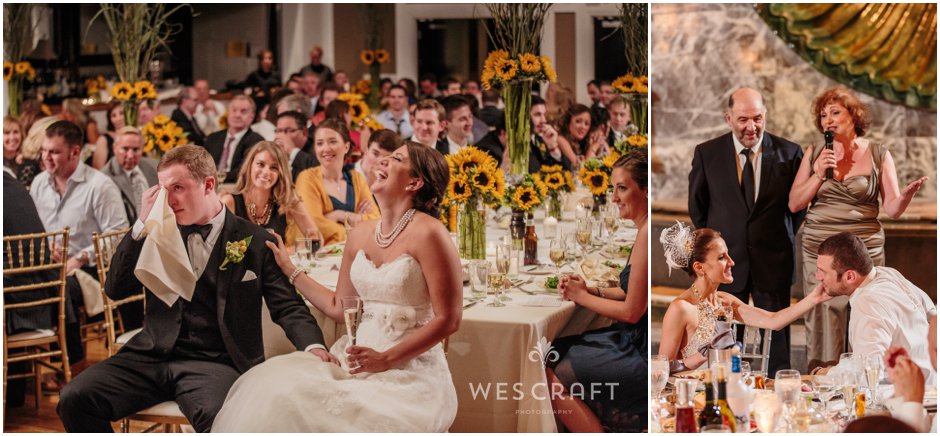
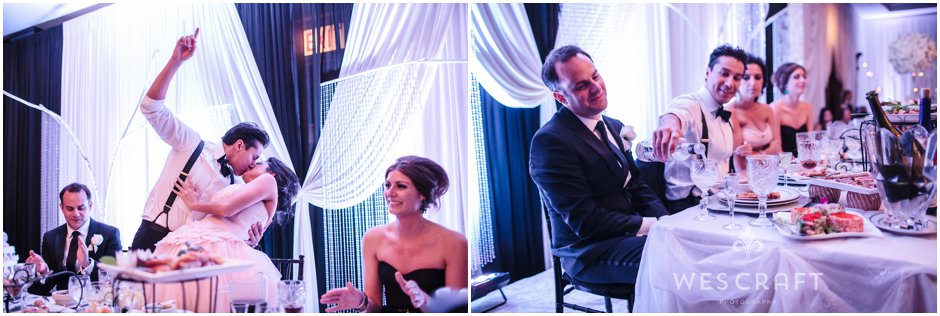
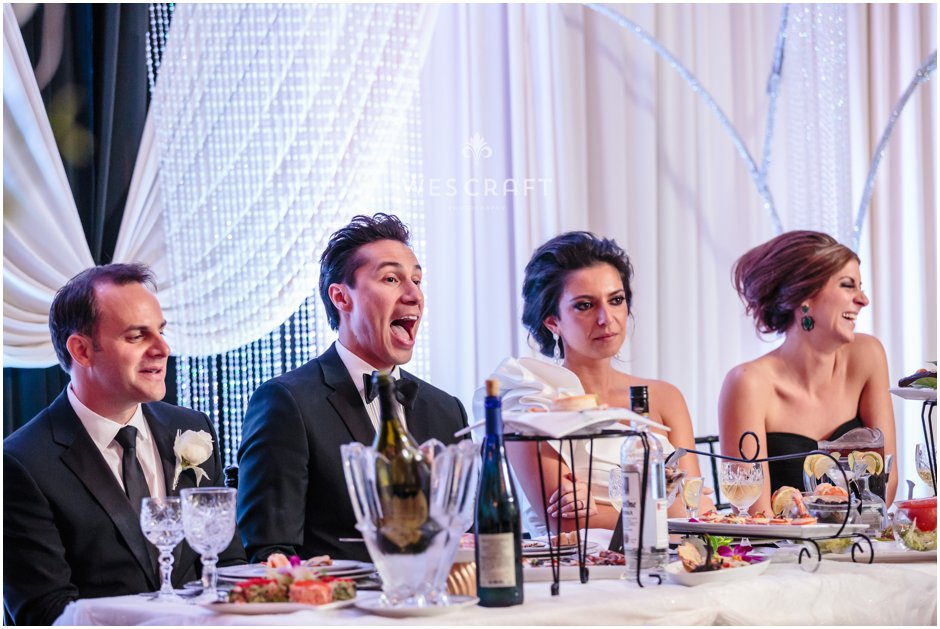
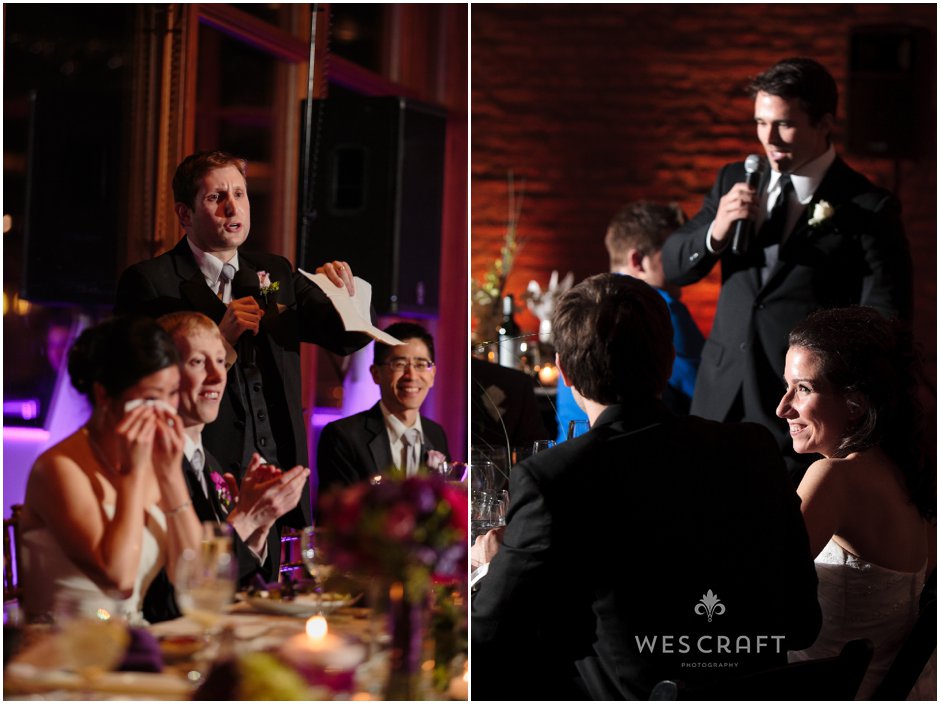
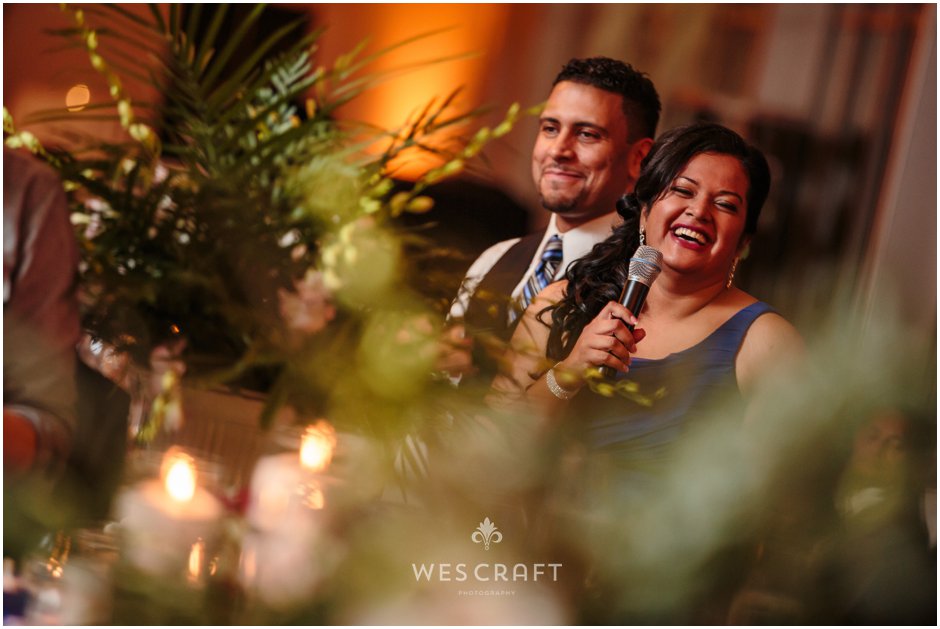
When a presenter stands opposite the head table or recipients of the speech and at a distance 20 feet or so then a single light stand between the two areas will work best. A single light bounced off the ceiling or into an omnibounce can light both subjects as well as guests in the surrounding 360°. You can also affix 2 lights to one stand, each firing directly at the 2 opposite areas of interest for a more crisp carving of the subjects out of the darkness. Whichever method you use for the lights be sure that you take a camera angle on the opposite side of the subject’s faces so that you’re on the shadowy side. It looks much more dimensional that way.
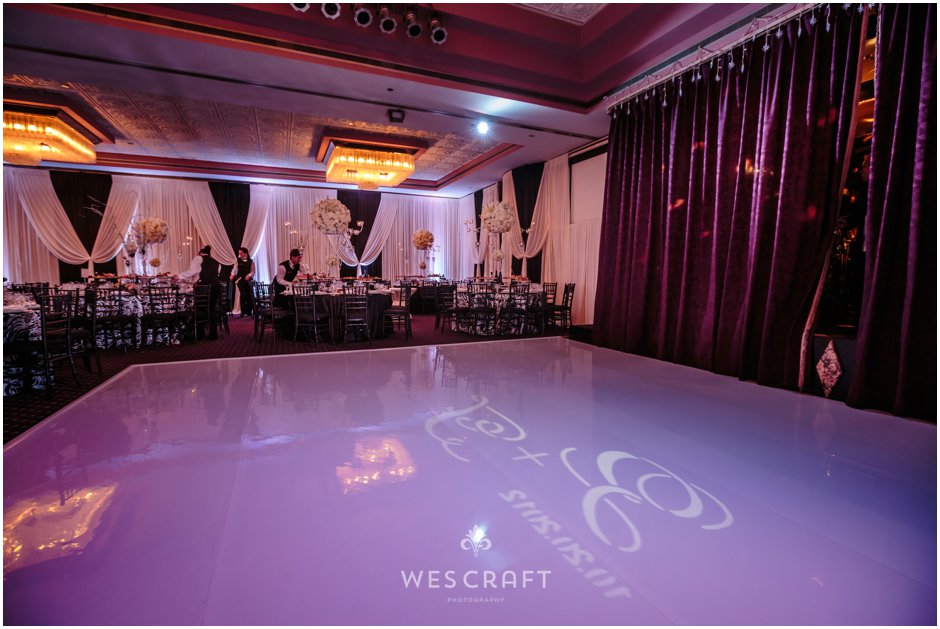
Remember that purple room? This is the dance floor that the head table group was facing.
I placed my flash on a stand to one side of the dance floor as shown in my diagram. Then I crouched on the opposite side of the dance floor, where the photo of the room was made, and looked to my left for the follow view of the head table. To my right, the same light lit the people giving their toast near the maroon curtain.

More photos where a single light is firing into the presenter and/or the head table.
© www.wescraftphotography.com
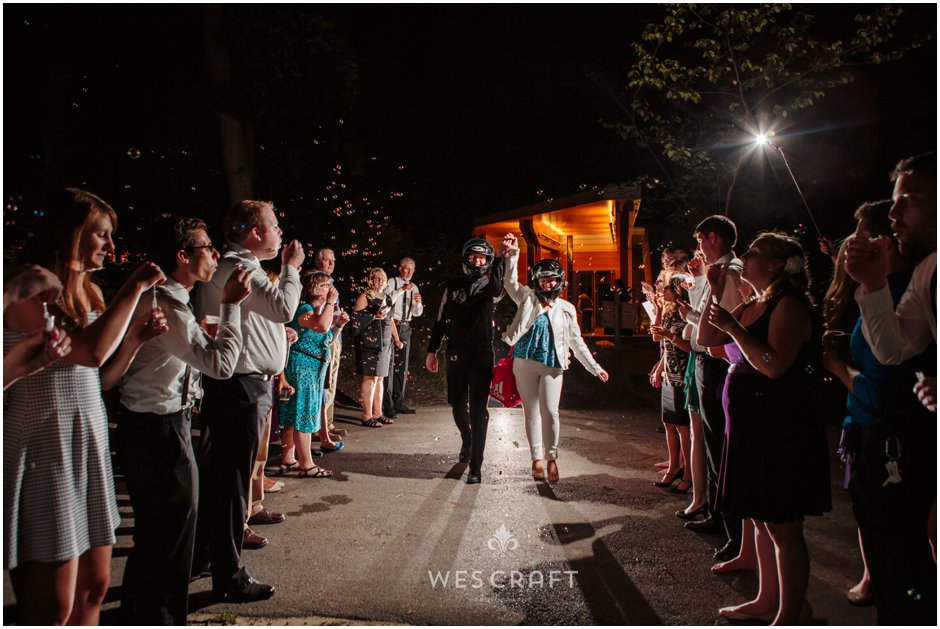
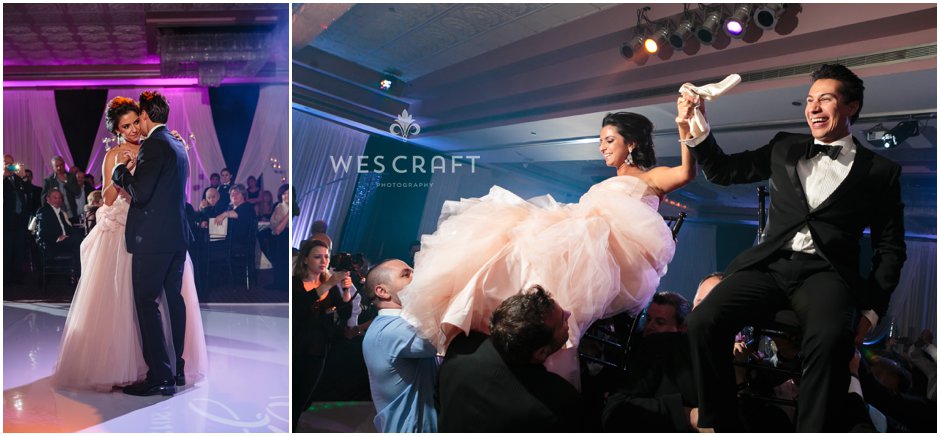
 Here’s a dramatic alternate use of 2 off-camera lights. Have them both behind your subjects on opposite sides of them. I call it Edge Lighting.
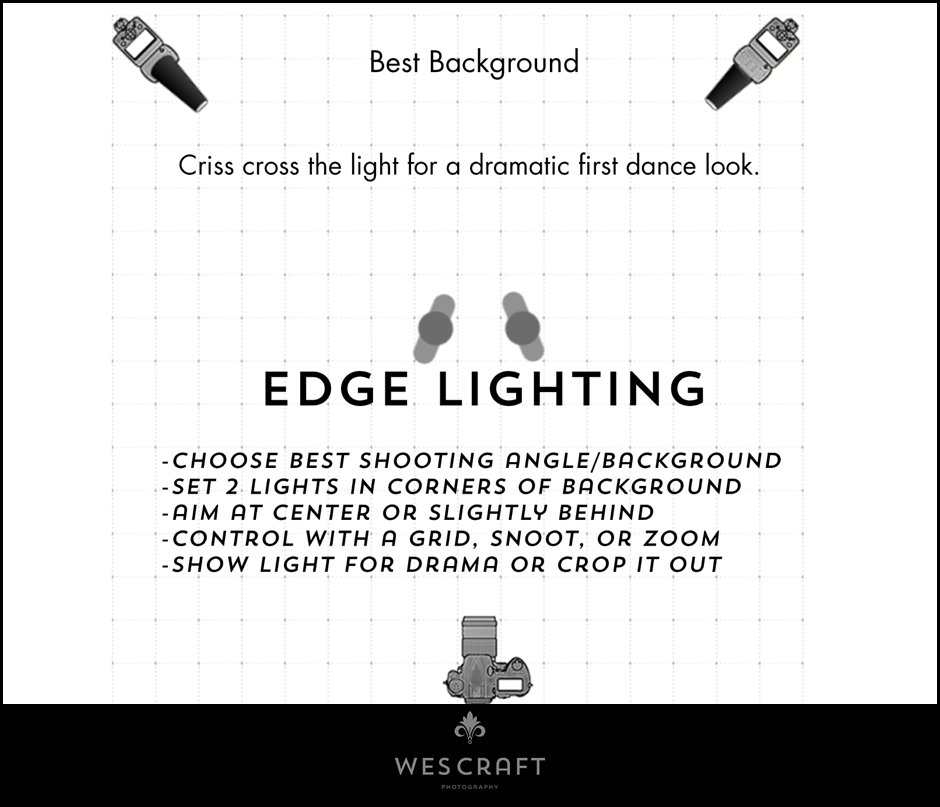
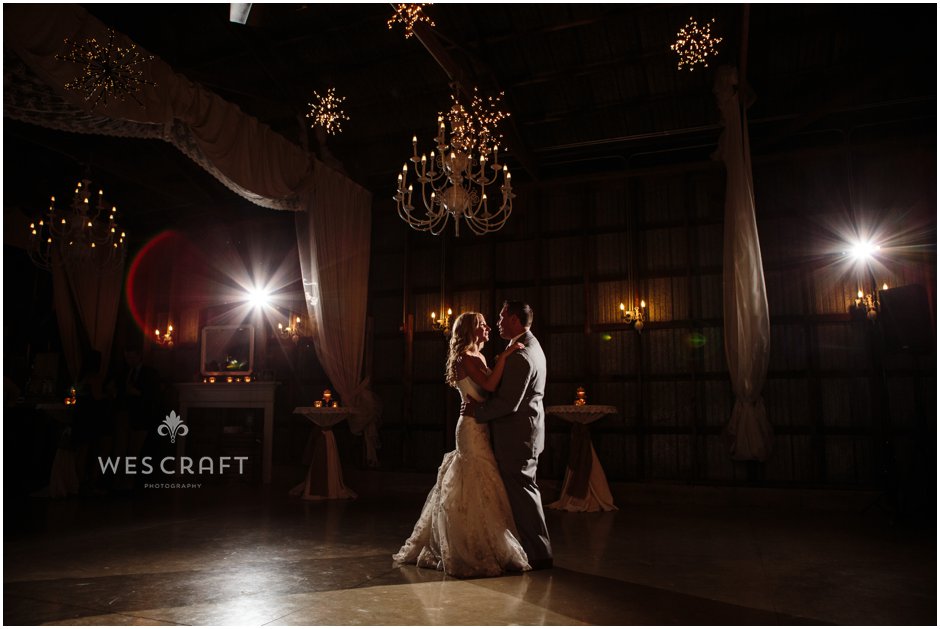
Crisscrossed backlights wrap around your subjects, outlining them in the darkness. Set your ambient exposure for the room’s highlights such as sconces. Decide where the best background is. Place your two lights in far corners or more nearby depending on space constraints.

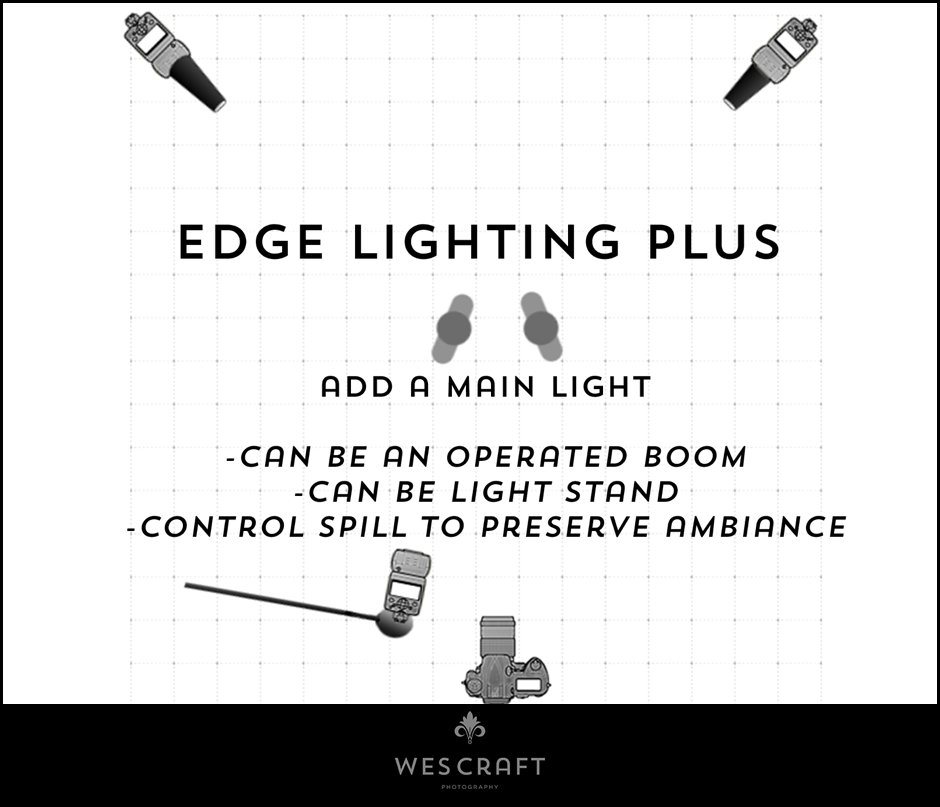
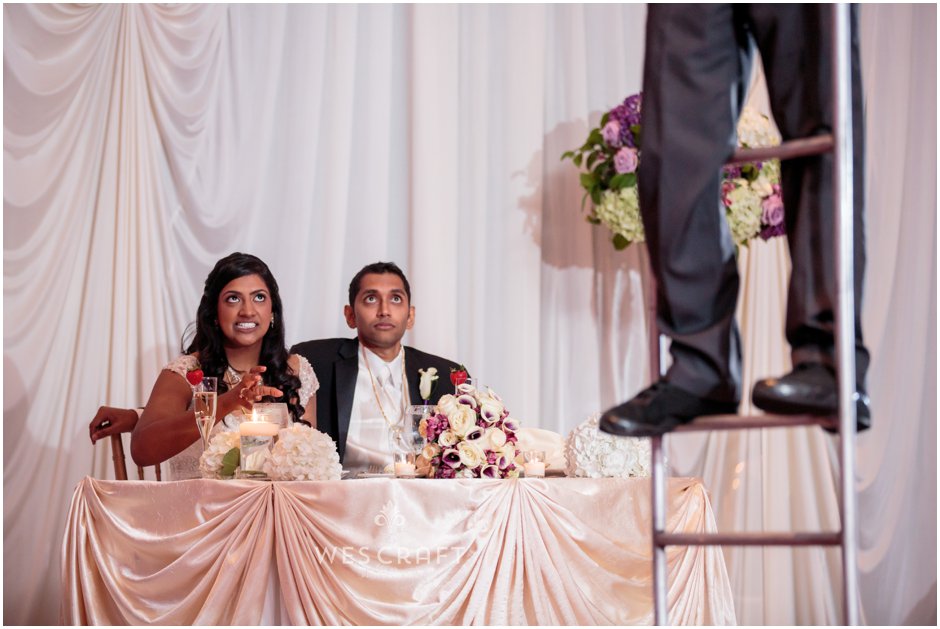
Edge Lighting Plus. Crisscrossed lights behind the subject. Add a main light on an operated boom arm or a stationary stand.
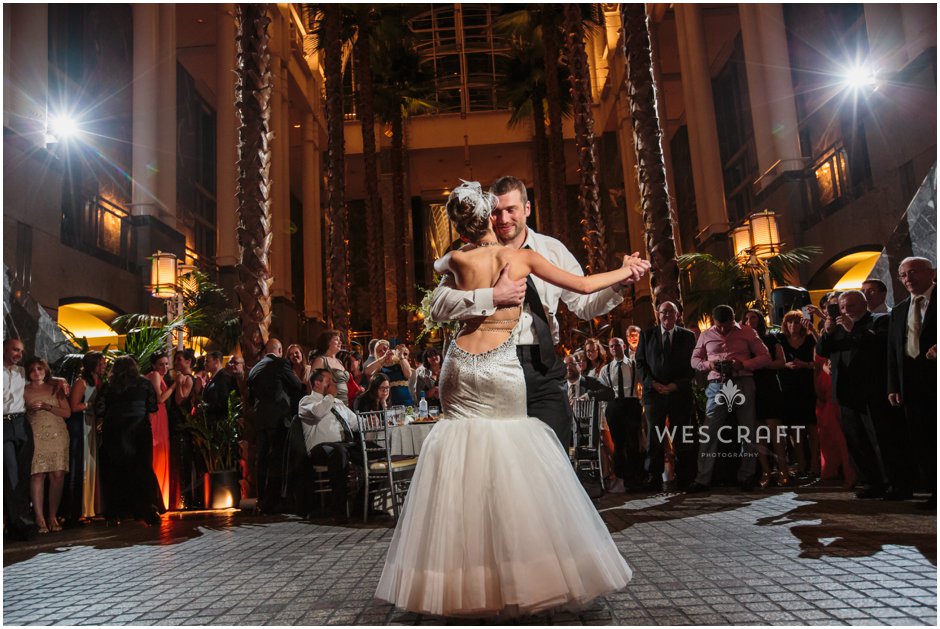
Here my two lights on far balconies are firing as well as a light to my right that is on a boom pole operated by my wife/2nd shooter, Necia.
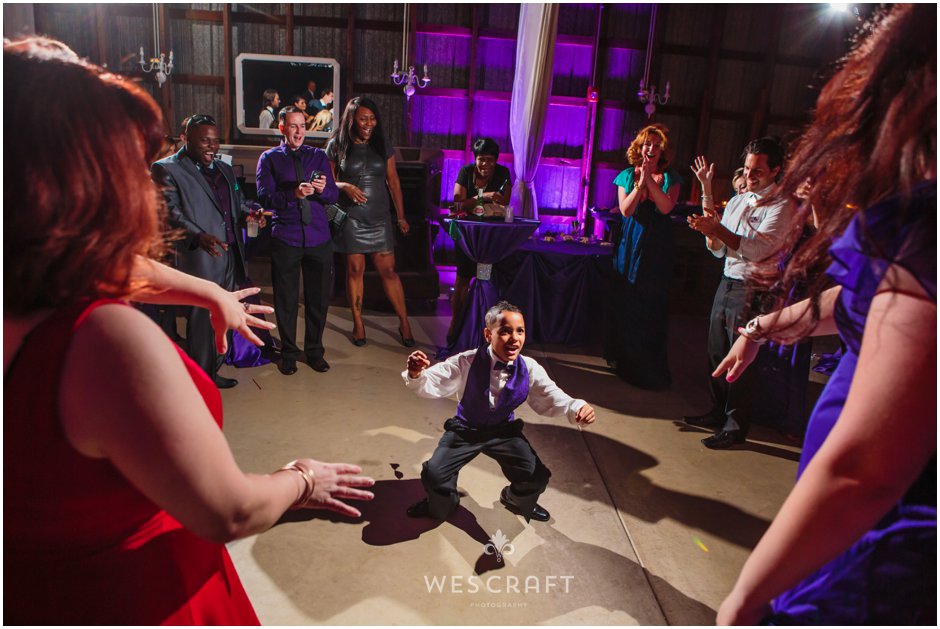
The thing I like about this light set up is that you can have these outlines around everything and the boom pole can fire from beyond your foreground obstacles. I tell my assistant to look at who is closest to my camera and to fire the flash from their opposite shoulder to me. In this photo Necia walked past the woman to my right in the purple dress and fired the flash from over there, toward the boy I was focusing on.
I always find a desired ambient exposure prior to adding strobes. This is an exposure for highlights usually. Note that the house already has a ceiling spotlight on the upper righthand side. That did just fine for separation on the right side. I needed something in the background on the left in order to separate my subjects from the darkness over there.
Now using the house light and my own light I’ve got an edge light situation. Necia operated the boom pole here. You can see that we’ve got a snoot on the flash, sculpting it a bit, not allowing it to spill all over the place. We’re just lighting the dancers.
 Here, I think I’m bouncing my on camera light off the ceiling and firing an off camera light or two in the distance. My ambient exposure is exposing for the purple light on the curtains.
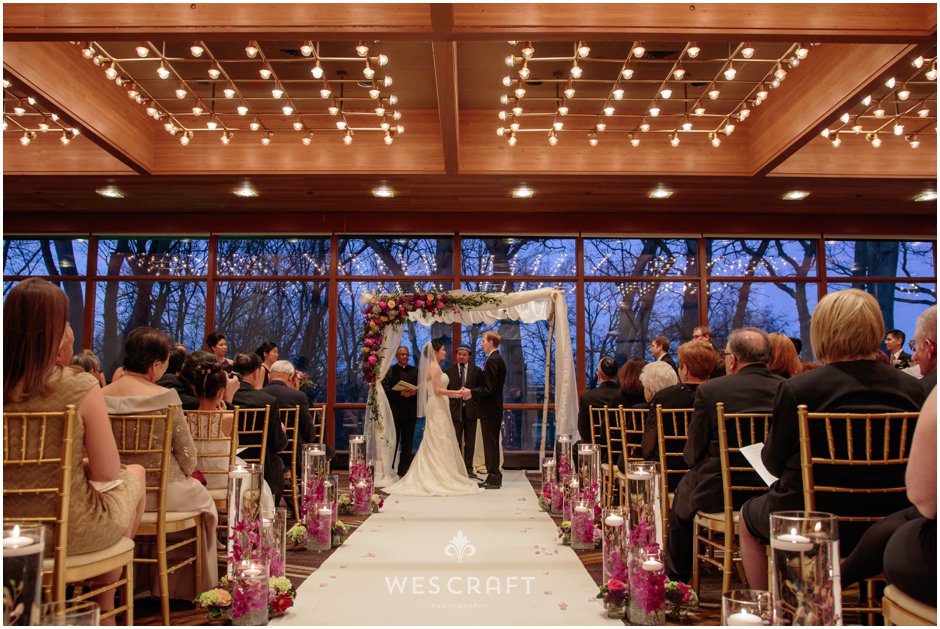
A winter wedding ceremony winds down.
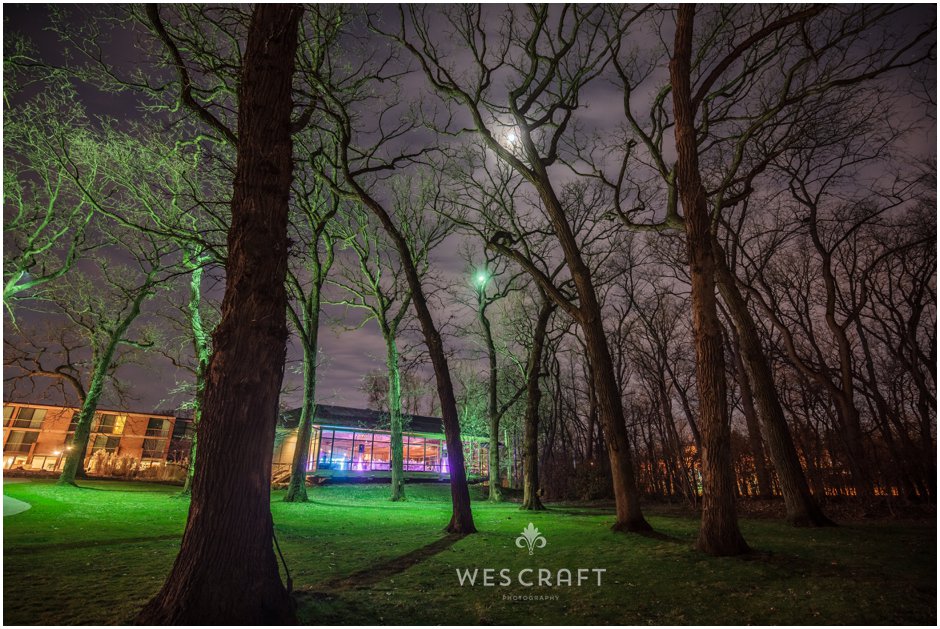
Winter weddings mean less light all day long.The cold is bad enough. Are you ready to light it up?
The previous two and the following several photos are all from the same wedding. Here we’re using a snooted on camera flash and a dragged shutter. No off camera light is firing.
On the left: On camera flash with a snoot is the main light while an off-camera flash is firing in the distance to the rear, creating separation. On the right: I’m firing both off camera flashes and no on camera flash. Can you see where the two lights are coming from?
Here’s the same shot as the one on the right previous but now I’m firing my on camera snooted light at minus 1 or 2 stops ETTL.

Here we’re firing the off-camera light to the subject’s rear and the off camera light is operated by Necia on a boom pole. The light in on a boom pole…
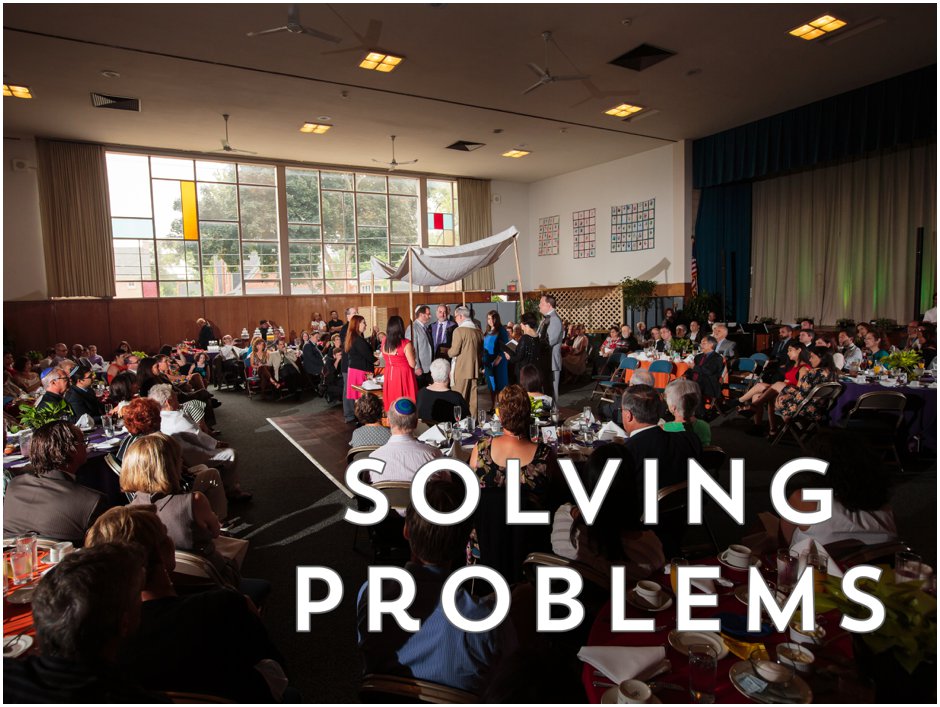
I love it when we can use lighting to solve a problem or create an image that the client’s may have envisioned without realizing that it was a photographic conundrum. Scott and Jimmy talked about how they loved this tree outside the window of their ceremony space. The only problem was that if we exposed for the daylight falling into the room from that window, the tree was pretty blown out.
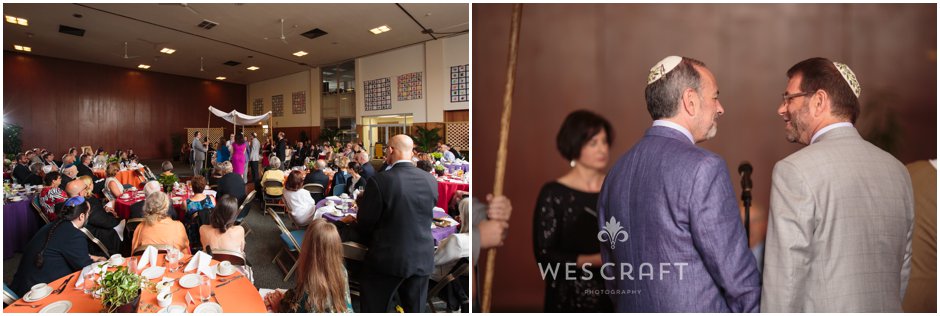
In addition to that, Scott and Jimmy’s staging had their backs to that lovely window light…
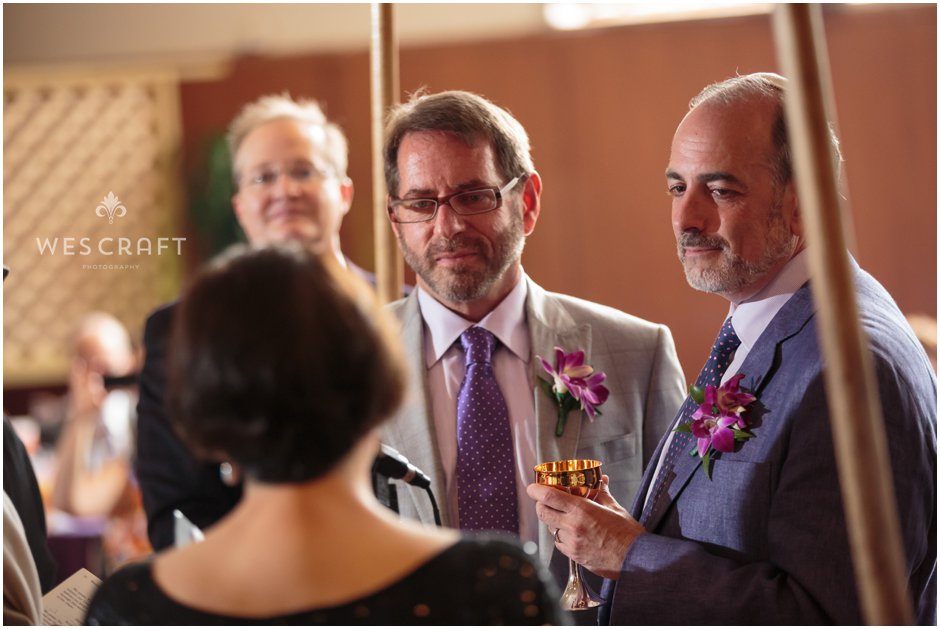
I had to expose for the daylight coming in and also fire distant off camera flashes, zoomed to 200mm, to illuminate the couple beneath the Chuppah. I’m lucky that the Chuppah was only supported by poles and not wider columns that would’ve blocked the light.
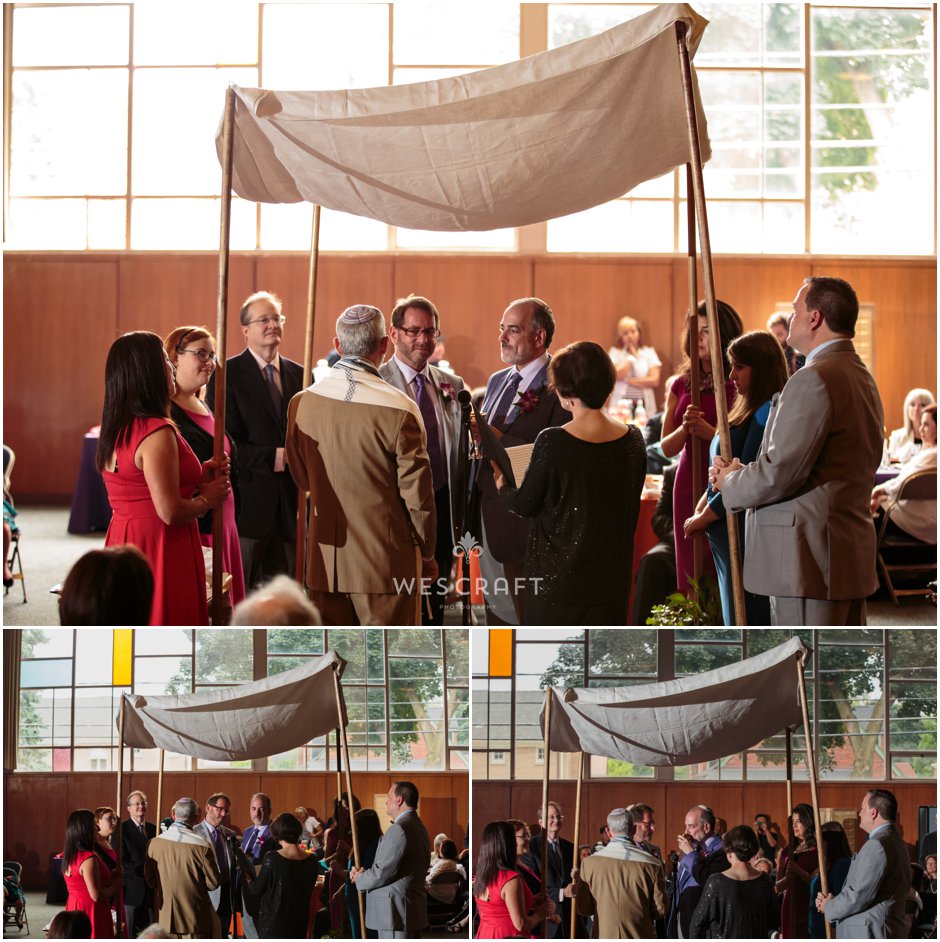
Here you can see my progressive exposure tests. In the first frame,I’ve got a blown out tree but the couple’s got a good exposure. Not bad but I feel that they’d want to see the tree. Next I dropped to a lower ISO, smaller aperture, and boosted my flash power. It wasn’t quite there. Finally I got to an exposure of around 200 ISO and 1/200s f5/6. The flash is probably firing at 1/2 or 1/4 power from about 30 feet away. Keep in mind that it’s zoomed to 135 or 200mm which helps to concentrate the power and get a longer throw.
I hope you’ve enjoyed this glimpse into our after dark workflow. Try to make it out to my next Chicagoland workshop TBA. I’ll announce via Instagram and other social channels.
Follow Wes Craft Photography on Instagram @wescraftograph for more tips and inspirational photography.
